

In the realm of digital connectivity, the seamless exchange of files ...
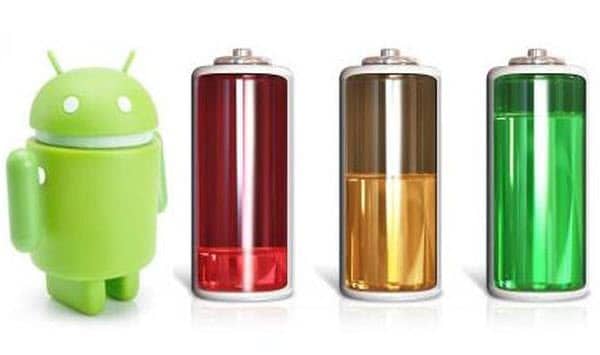
To conserve your Android device's battery for a whole day is ...

Today's article is dedicated to all those users who want to ...

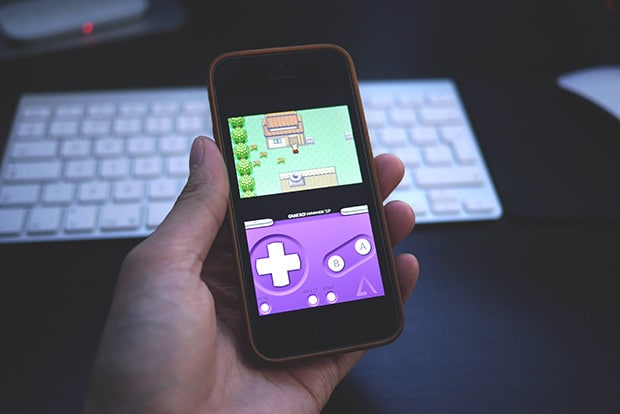
Scientific research has proved that playing puzzle games and Apps not ...

The Android app development landscape is evolving, with new tools and ...

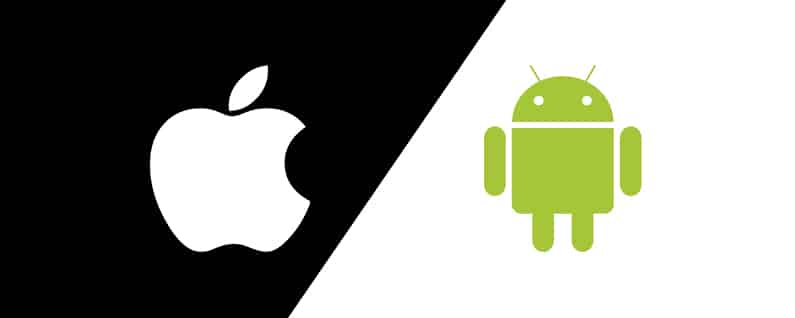
The entire discussion surrounding Apple vs Android is subjective. Many things ...

When you see the stats around mobile gaming, it is obvious ...

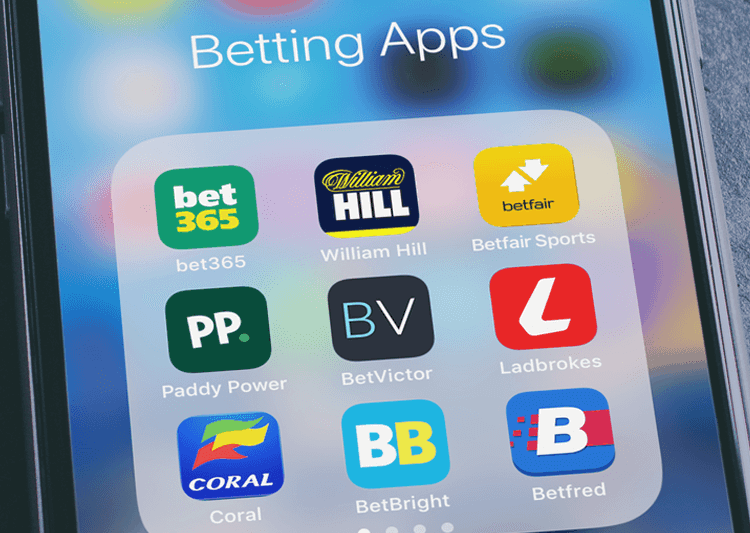
If you're searching for the right bookmaker in India that offers ...

People have their whole life running on smartphones in the modern ...

Isn’t it great to see the world of sport back up ...
Whether you are launching a business or a seasoned player in ...

Android has long spearheaded the maintenance and growth of connectivity and ...

Mobile app trading continues to gain in popularity. More and more ...

After a record-breaking night on twitch thanks to streamer Ninja and his ...

Fortnite Battle Royal has taken the gaming community by storm. The ...

Apple’s smartphone platform, iOS has built its market all over world ...

2017 has been a big year for high-end smartphones. After the ...

The moment we think of Virtual Reality games, the first thought ...

We live in an increasingly globalized world where being multilingual offers ...
Apple has a really strict policy regarding who all are allowed ...
Modern app development is proving that apps are more than just ...

Today is the world of the millennials, which makes the internet ...

Free Android games that provide an engaging gaming experience are hard ...

Of course "best" is a relative term. For some, iOS is ...
If you own a Mac and an Android device, you would ...

Google's Pixel phone doesn't hit shelves until Thursday but it's already earned ...
Following weeks of disappointment surrounding the highly problematic release and recall ...
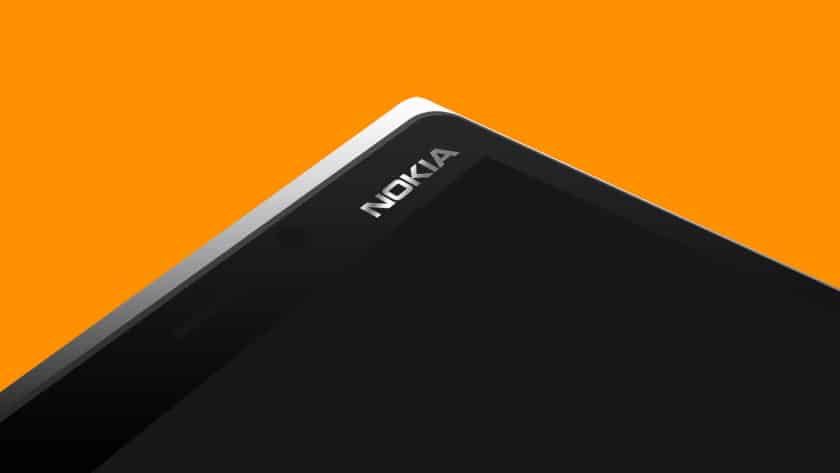
There was a time when Nokia was the undisputed behemoth in ...
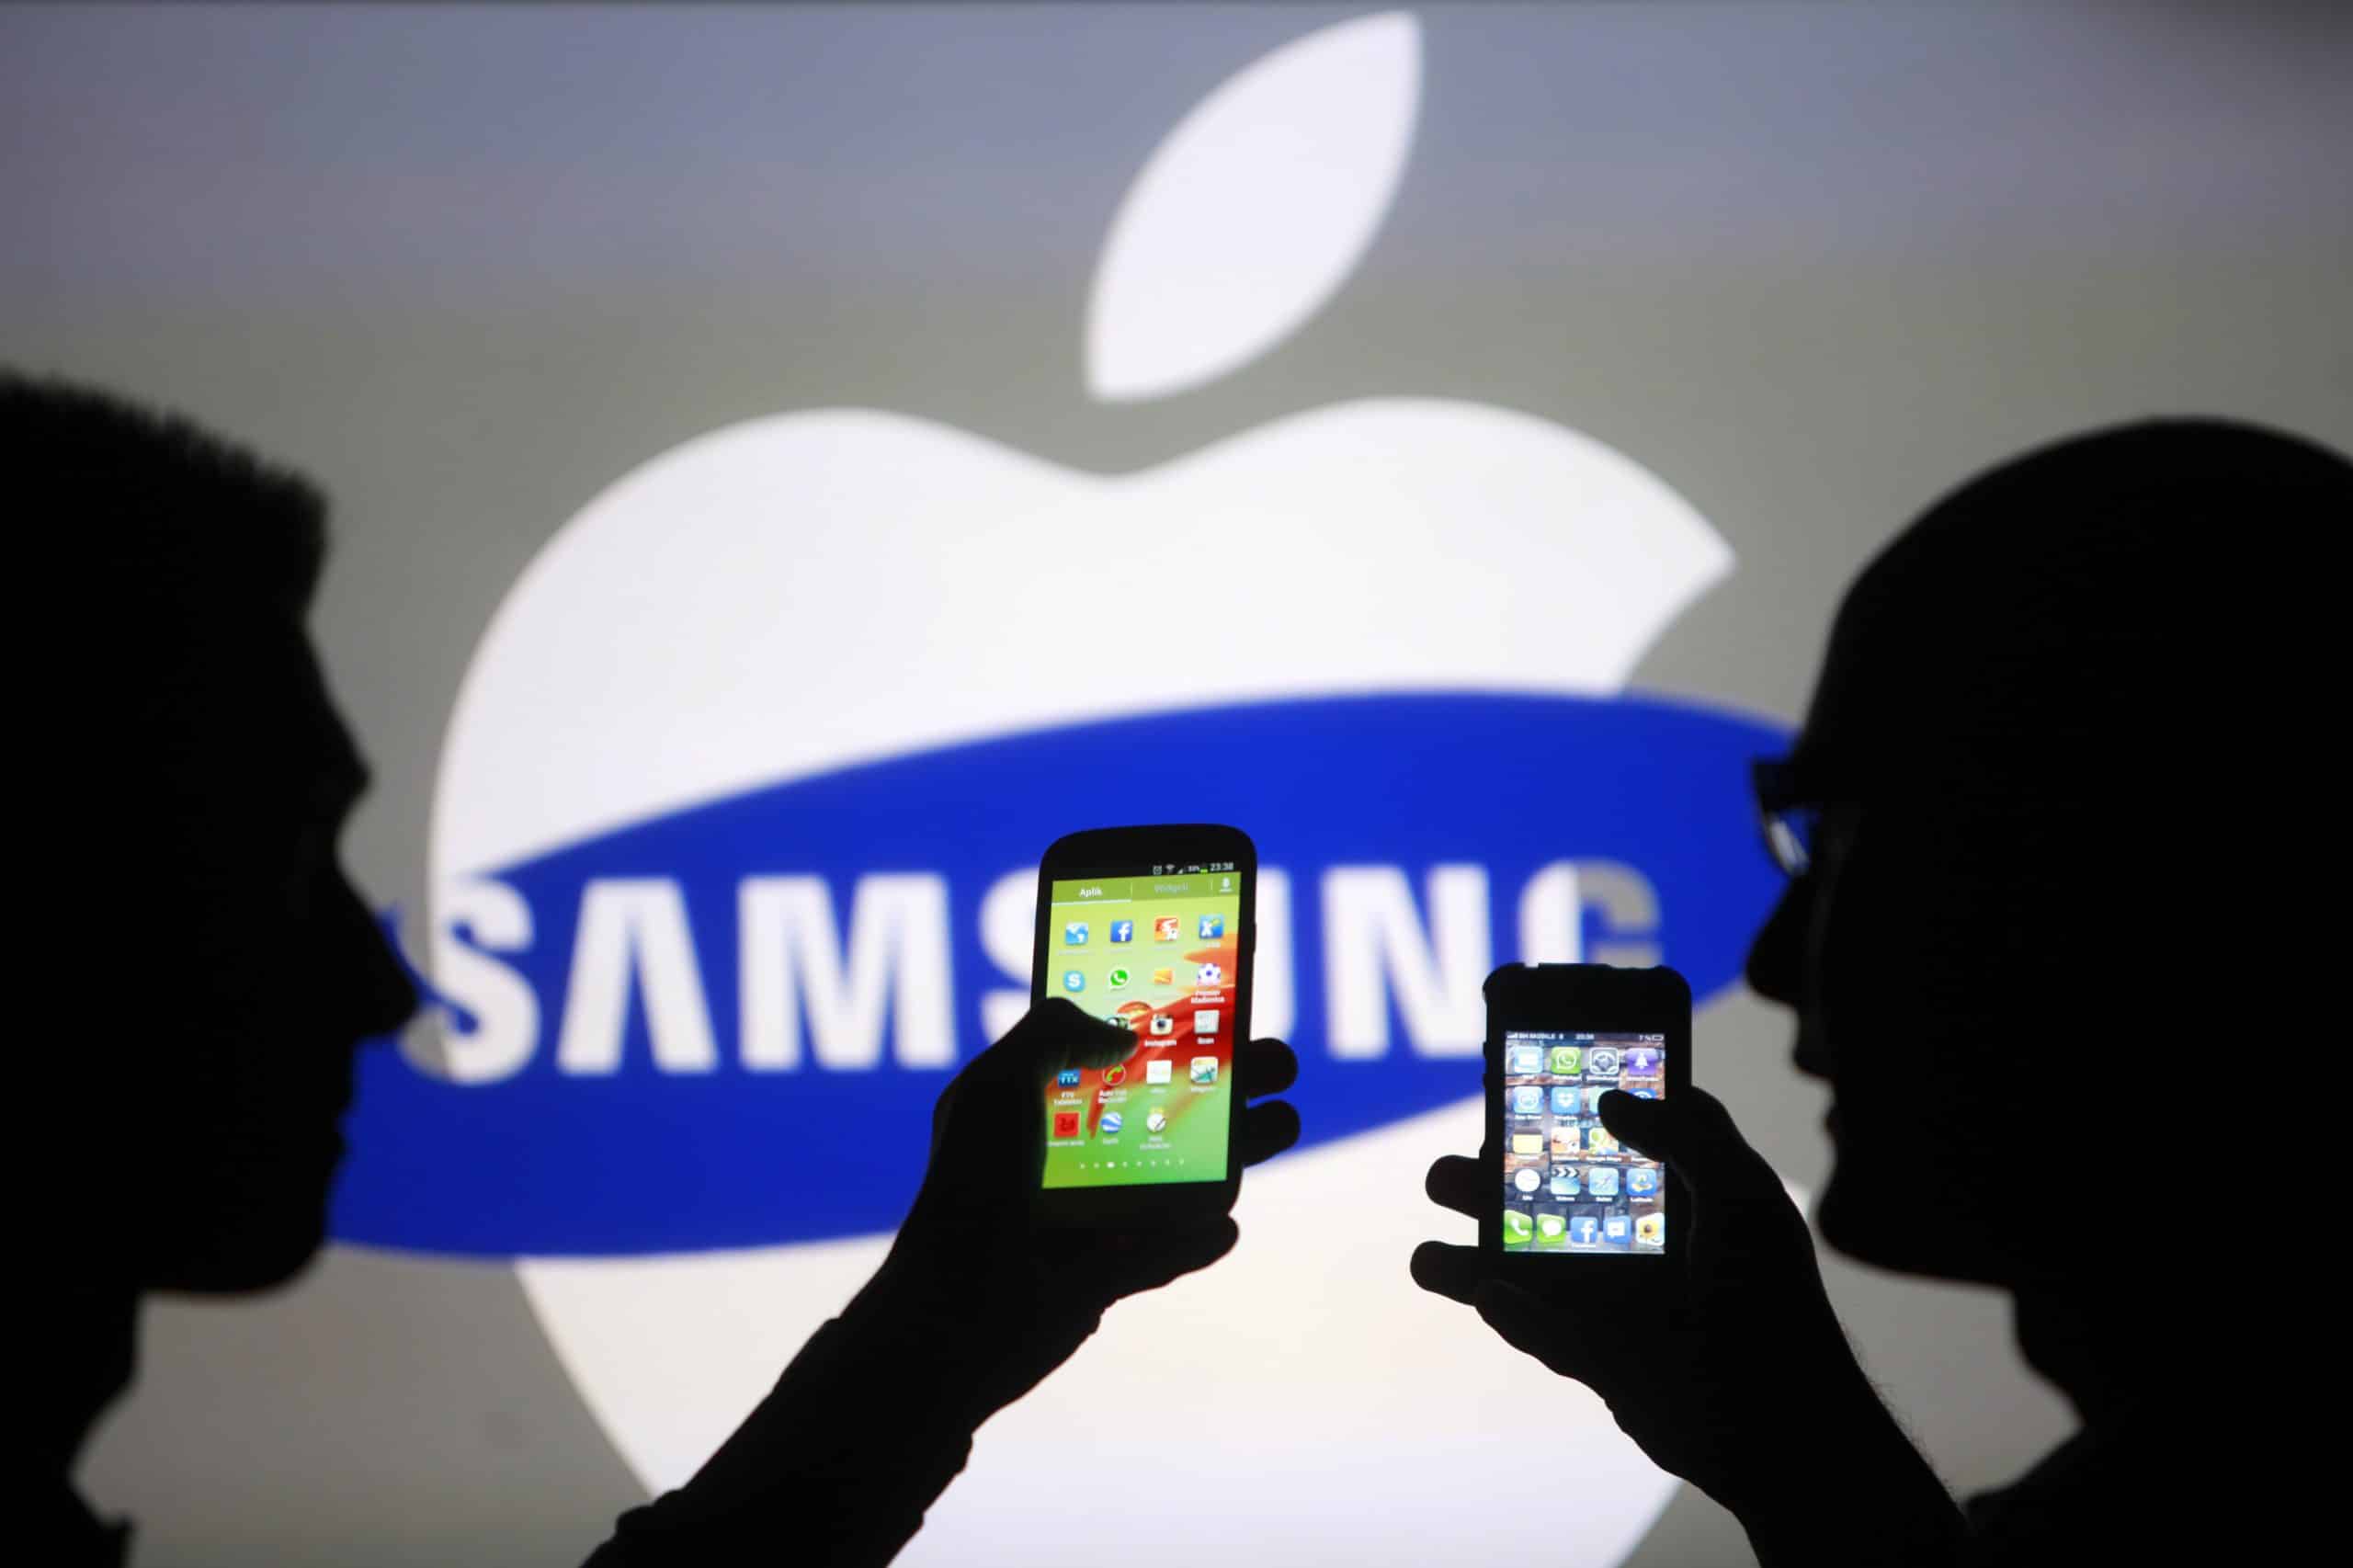
The infamous patent war between Apple and Samsung attained new heights ...

According to South Korea's Yonhap news agency and The Wall Street ...
A report from Tech Crunch reveals to us that some most popular features of ...

It is hard to keep kids away from smartphones and other ...

In anticipation for the big October 4th hardware event Google has ...

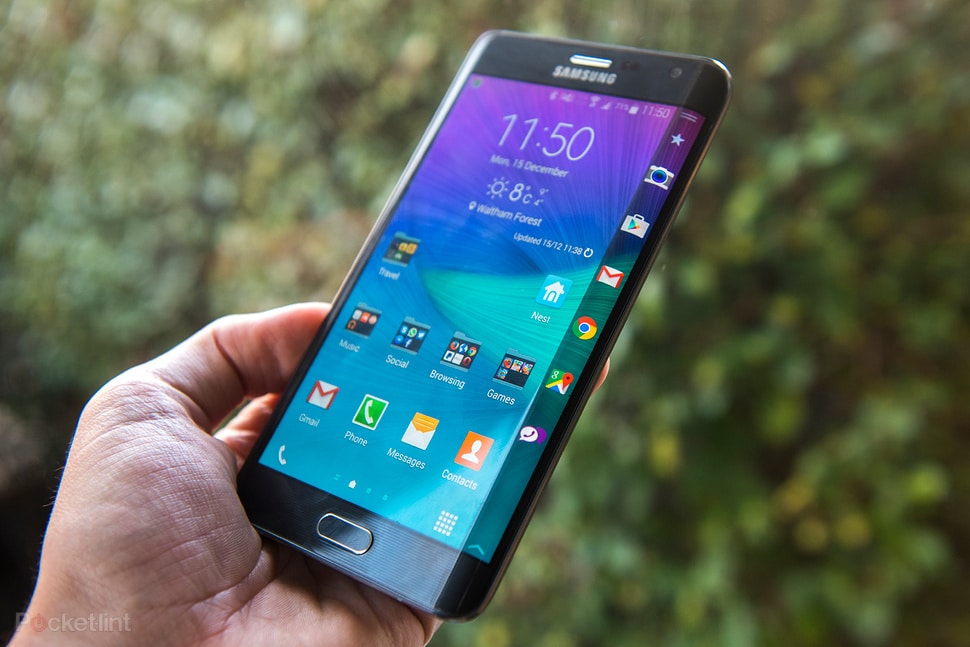
Two weeks after the launch of the Galaxy Note 7 and ...

Last month saw the highly anticipated release of the Galaxy Note ...
The competition among smartphone companies using Android as their operating system ...

One of the main complaints that iPhone users have is that ...

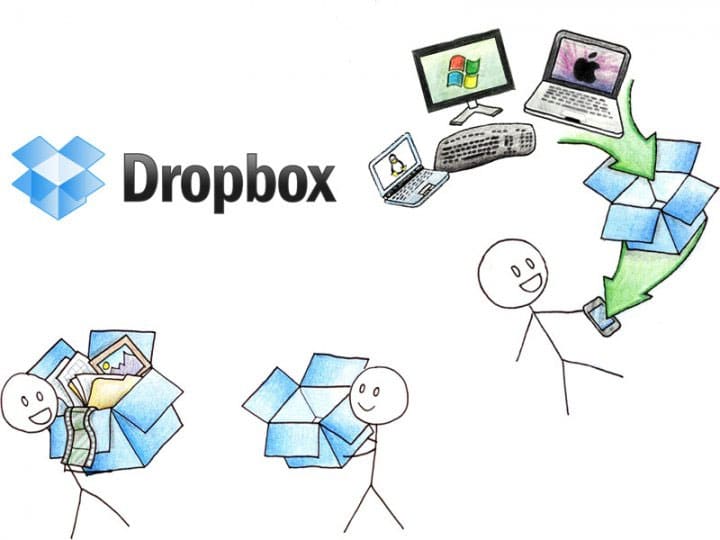
Dropbox launched in 2008 and was an instant hit for cloud-based sharing. ...
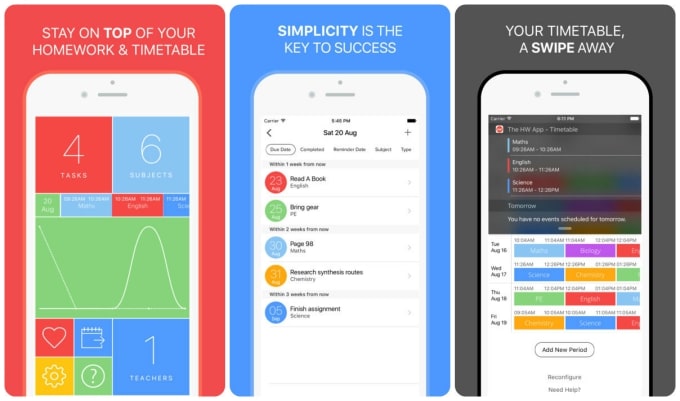
Let's be honest. Studying for an exam is easily one of ...

March Madness is upon us, which means college basketball will consume ...


Nerds like to customize their devices. From desktop computers to laptops ...


With Black Friday, Small Business Saturday, Cyber Monday, and any other ...

Holidays are coming up right around the corner. Now is the ...