I always try to discover some new geeky stuff as its part of my hobby. And in today article I’m going to share with you one of my recent discoveries about which everyone looking over web i.e. How to use Whatsapp on Windows and Mac OS X using Android Emulator. So in this article I’m going to answer this question.
Whatsapp Messenger is a Smartphone messenger app using which you can send and receive messages, pictures, audio notes and video messages for free. And if I tell the truth, officially its impossible to get Whatsapp on Windows and Mac OS X. But unofficially there is a way to use this amazing app on your Windows XP ( Service pack 3 only ), Windows 7, Windows 8, and Mac OS X using any Android Emulator. And for this work Bluestacks app player is best option to go with.
Basically BlueStacks App Player is an amazing android emulator which lets you run apps from your phone fast and full screen on Windows and Mac. Using this software you can use almost all the top apps like Angry Birds Space, Kik Messenger, Where’s My Water and more on laptops & a MacBook Pro with BlueStacks. So if you want to use all 750,000 mobile apps on Windows XP, Windows Vista, Windows 7, Windows 8 or Mac OS X then you will have to download this amazing application.
To give you a more clear idea how to download and use whatsapp on your PC, I have written a tutorial for you. So that it becomes easier to use this software on your desired devices. So lets we start with our tutorial.
How to Download Whatsapp for PC (Windows & Mac OS X)
1. The first thing you need to do is download and install the Bluestack App Player for Windows or Mac OS X.
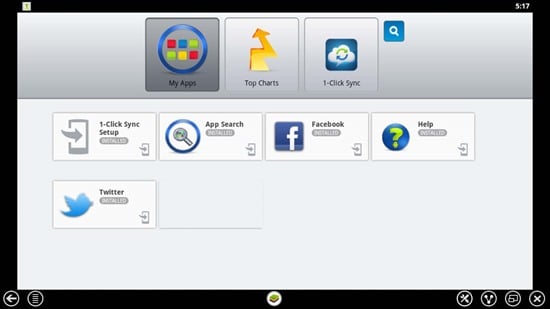
2. Once this software is installed on your system, open it and click on the search icon on top right corner.
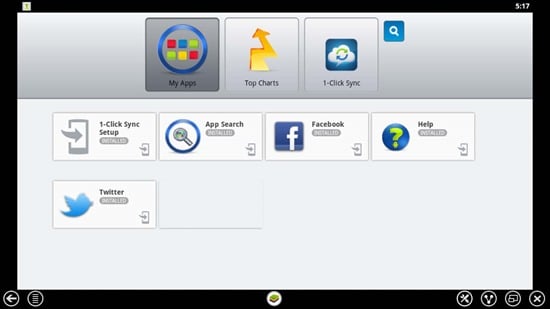
3. Now you will get a search bar, type whatsapp and search it.
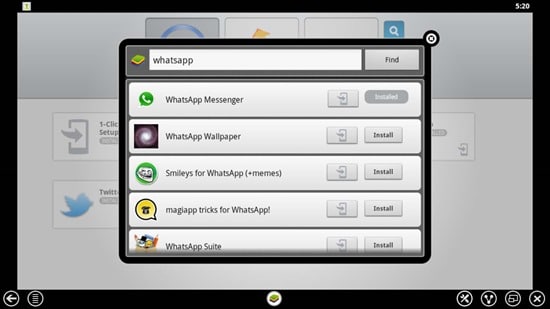
4. When you get Whatsapp Messenger in the search bar, click on install on the right side of the app.
5. After that another window will pop click on whatsapp icon and download of whatsapp messenger will start within bluestacks software. Once its download you will get a notification.
6. Now you can open whatsapp just by visiting the home page of Bluestack or you can also use the search option in your Windows or Mac. It’s up to you which one you choose
How to Install and use Whatsapp on PC (Windows & Mac OS X)
1. Once the app is downloaded and installed open. When you open it for the first time it will do some registration work, same as in Android and iPhone.
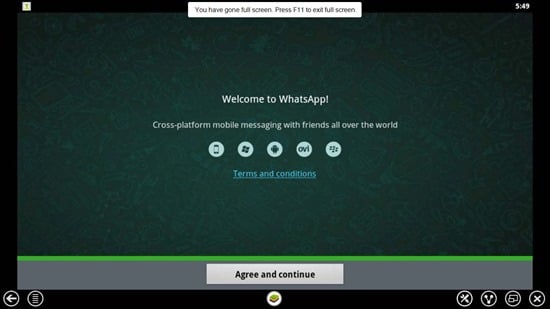
2. Now when you click on agree it will take you to page to verify your mobile number, simply choose your country, country code and add your note. Don’t add the number which you are already using on other devices.
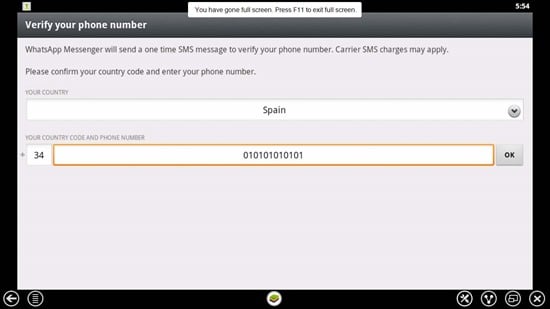
3. Once your number gets verified by the app you will head toward profile page, simply choose the image you want to add as profile picture, name and click next.
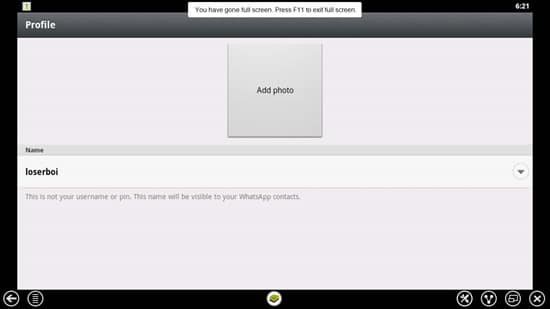
4. And in final step you will get a page asking you to continue, click on it and start your texting your friends.
5. To start messaging who already have whatsapp install on their phones, tap on the icon in the upper right corner.
So here our tutorial ends, there is not difference whatsapp for android and whatsapp for Windows & Mac. If you know how to use it in your android, then you will easily access it. So give a try to this amazing app on your Windows XP, Windows Vista, Windows 7, Windows 8 or Mac OS X and share your experience with us. Also if you have any query drop in the comment section I will try to give solution for sure.




Sir, Thank you so much for sharing this useful and valuable article. This article provided a important information.
Thank you so much for sharing about how to download and use whatsapp on pc window-7 windows-8-mac-os-x.
Sir, your site provided a best information.
Sir, Thanks you so much for provided a valuable information.
Sir, Thanks for sharing this wonderful.
can not complete my whattsup please help
What is that number that you mention? Where do I find it on my laptop?
I want to ask that if I install watsapp in my pc and after that when my pc gets connected with the internet then will it show me that who has send me messages in watsapp??
I’ve installed whatsapp on my pc by following the guide below. I cannot use whatsapp on my android cellphone. Can someone help? Download Whatsapp
Helen
I have ready installed whastasap on my Laptop but i failed to take the name and number which saved in the sim card that i am using from my modem while that number is the number which i submitted to whatsapp and i tried to import them but nothing. Please may you tell or show me another way!?
It doesn’t work for me on OS X 10.9.4. I can’t search for apps, so when I search for ‘whatsapp’, it returns no results.
how can i download this whats app in my laptop
how can i download this whats app in my laptop
I have 130 Mobile Numbers Stored in Excel File. I want to upload all those files into bulestack whatsapp option.please provide me a solution.
peliz dawnlod whats app nokia n900
mersi iz you
bye
it must be for choosen people
So you are saying that we will have to create an entirely new profile in Whatsapp for this?
yea 🙂
I love it… It is the best!
How to change a contacts? I need to use another one and cancel the previous.