
Thanks to an ill-timed internet outage this morning, my plans for productivity today were instantly cut short. With a lot of extra unplanned time on my hands, I decided that it was time to do something with the old desktop computer that has been sitting in my office – namely recycle it. I’ve upgraded computers three times in the last decade, but this sucker kept chugging along… until it died the multiple beeps of death about a year ago and quickly became forgotten.
9 years of life isn’t too bad for an Emachine.
So… recycling. One of the most important things you can do with an old computer is to recycle the components. If you just chuck it into a trash can, there’s a good chance that the unit is going to end up taking up residence in your local landfill. That’s not a good result since there are copper, silicon, and other harmful components that leak into the ground and cause future generations some problems.
There’s also a consideration of the data that your computer holds. If you just toss your HDD, there is a very real possibility that someone could access your data once again. It doesn’t matter if you directly deliver your old computer to the landfill either. The sign might say not to pick up cool stuff from the heaps of trash, but there are many who do it anyway! Recycling helps to prevent this from happening whatsoever.
Here’s how you can properly recycle your old computer the next time the beeps of death disease hits your household – and you might just be able to make a few bucks off of it too if you do it right.
Step #1: Unplug the Computer
Seems like common sense, but I’ve seen people start hacking away at their power supply when it’s already plugged in. That’s definitely not a good scenario.
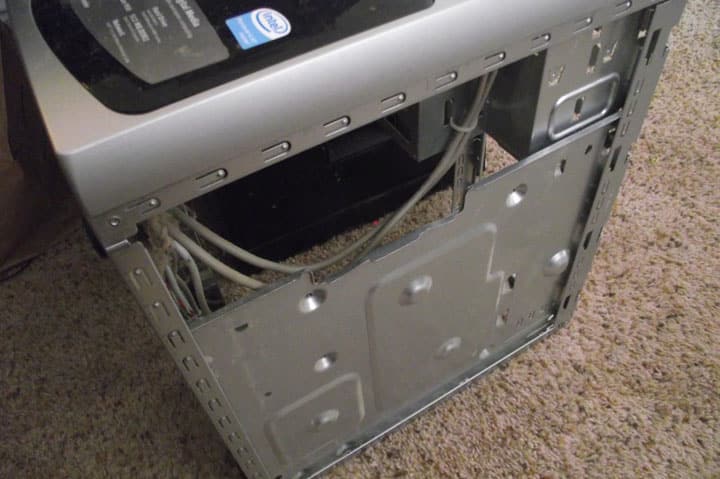
Step #2: Detach the Case

Most computer cases are held together with a series of screws. For the Emachine, I was lucky enough that they fit a standard size Philips screwdriver. Not every computer is that easy to access. Take a look at the bottom of a Macbook Pro sometime and you’ll see what I mean. I didn’t remember how old this computer really was, so I thought I might be able to swap out the RAM to put into the new desktop. This monster 512MB chip quickly eliminated that idea.
Step #3: Get the Wires Out
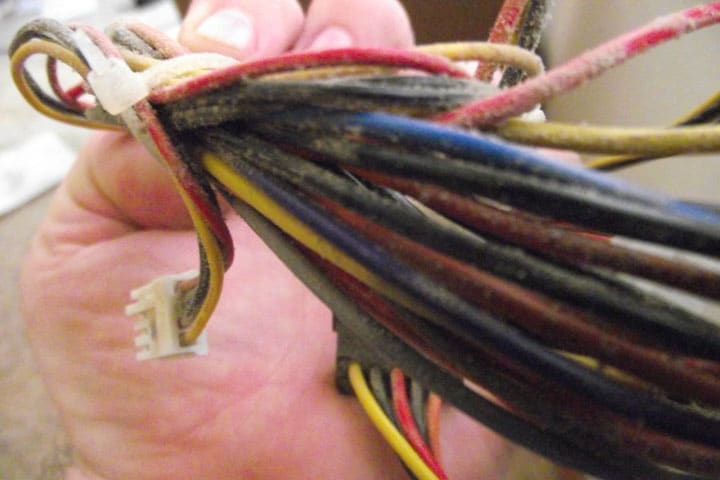
This is where unplugging the computer first really becomes beneficial! Now I’ve heard some people like to just cut the wires out of a computer, but almost all of them are fastened with clips to the motherboard or their associated drive. It takes about 2 minutes max to just pull them out of the clips and maybe snip a few plastic zip ties that have been used to keep the entire unit clean.
Step #4: Remove the HDD
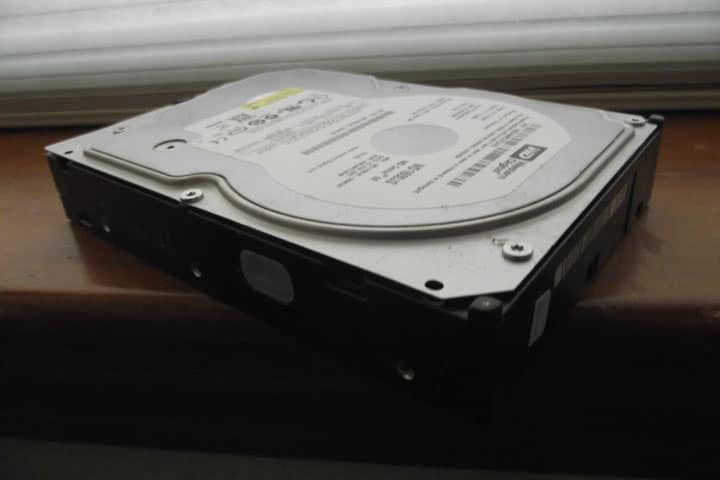
Most computer cases have a ton of extra free space, so now that the wires are removed, you’ve got room to gain access to the HDD shelf. Most drives are affixed in place by two or four screws. Remove these and carefully slide the drive out of its shelf. If you have data on it that needs to be recovered, make sure you get a portable power unit that works with the type of HDD so you can copy the data onto your new computer. You can then disassemble the HDD if you wish or some recycling facilities will take them as a whole unit.
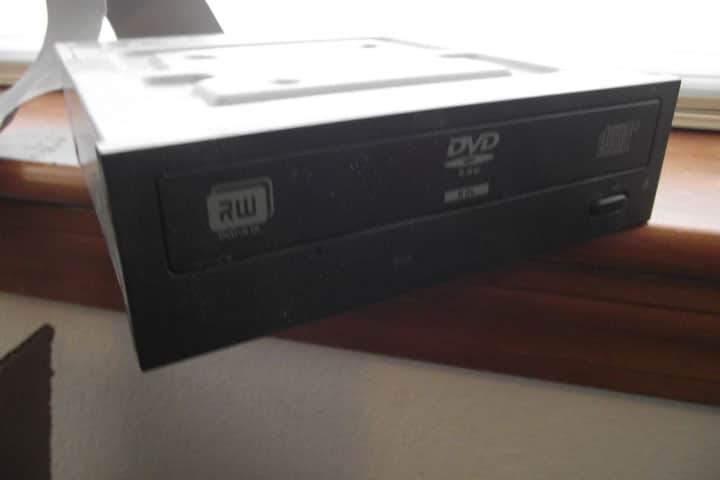
Repeat the process for the CD/ROM drive and any additional drives your computer may have. Since the Emachine is literally 10 years old, I had a 160GB HDD to remove and a standard CD-R drive. There are boards in there that are worth money too if you don’t have a need for the drive in your next computer.
Step #5: Take Out the Power Supply
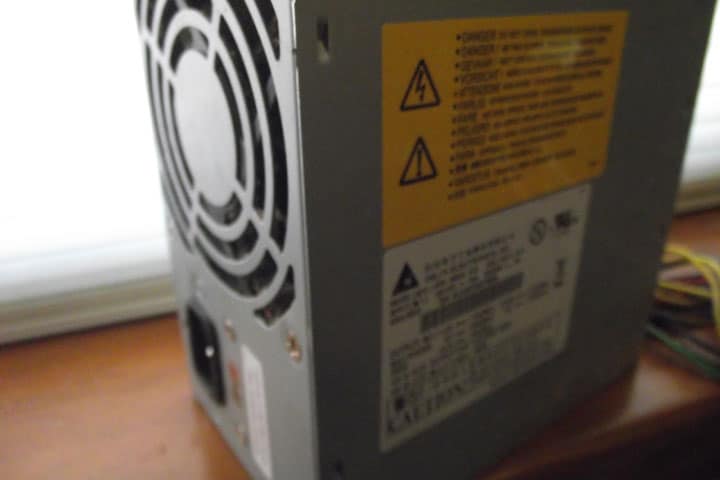
This is the heaviest part of most computers and it is rather easy to take out most of the time. It is also generally affixed to the computer case in some way and for the Emachine, it was with 4 exterior screws in the back of the case and two internal screws that affixed the supply to the shelf. Just remove the screws and take the power supply out carefully.
Step #6: Remove the Motherboard
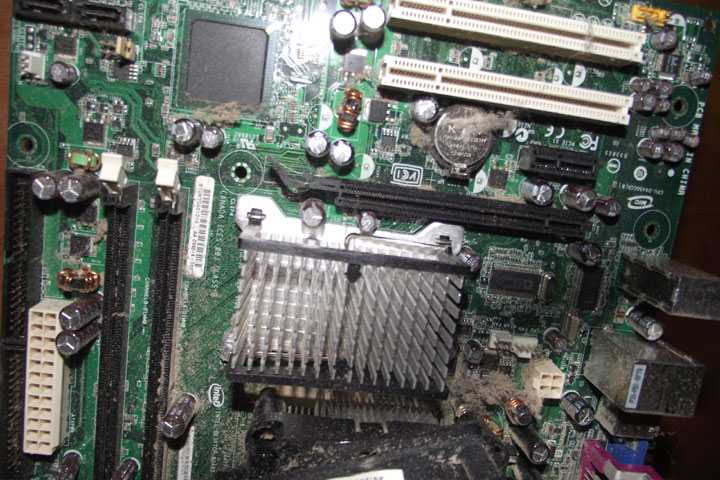
For computer recycling, the motherboard is the primary item that will bring in extra money if you’ve got a local recycling business. There are generally 4-8 screws to remove the board from the computer case in most instances. I actually had 10.
Step #7: Remove the Fans
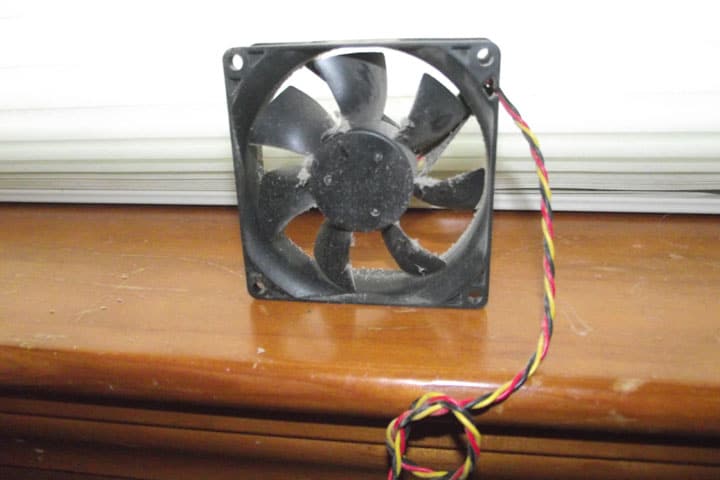
These are usually screwed into the computer case as well. There is generally at least one fan on the motherboard you’ll want to remove as well and on the Emachine, it was as big as my arm. Some computers have 5 fans or more to remove – it all depends on how current and customized your computer happens to me. Mine had an additional one in the back.
Now that you’ve removed all of the components, you can dig deeper into the process. Many of the connectors on your boards use gold as their connectors and even though it’s rather minimal in amount, it’s still pretty valuable as a recycling item. The CPU chips can be taken off, as well as the heat syncs. I had a lithium-ion battery to remove as well. Then you can look at online options to recycle your computer, have someone local take care of it for you, or donate it to a local non-profit and take the write-down on your taxes.
Recycling a computer helps the environment and it could help your bank account a little bit too. Follow these steps and you’ll be able to disassemble your old computer in no time at all!
PS – Many computer recycling agencies will take the computer in its entirety for one flat rate so you don’t have to take it apart like this.