
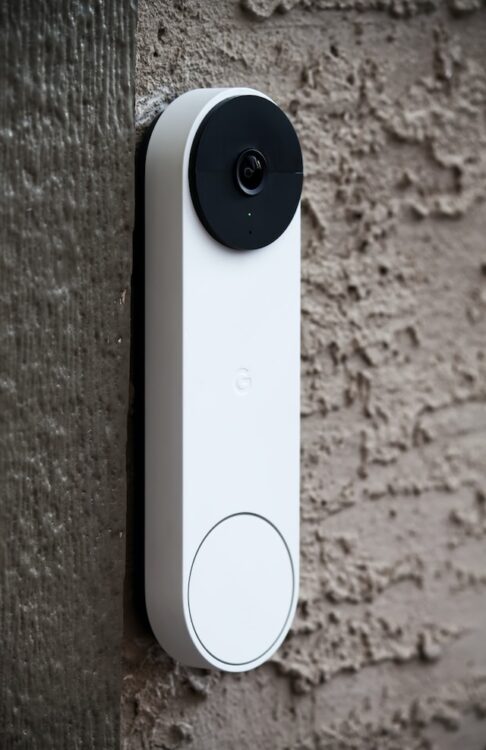
Introduction to Ring Doorbells
Investing in a Ring Doorbell is a brilliant way to upscale the security level of your home. With a smart doorbell device like this, you can hear and speak to whoever’s at your door without needing to be there yourself. But smart devices do require some technical knowledge, too. If something like a power outage happens, you might need to reconnect your devices to your Wi-Fi. This article will walk you through how to change the WiFi on a Ring Doorbell.
Introduction
With a Ring device, you can access live videos of your main door and even download these videos for later viewing. With the device’s subscription plans, you can access a ton of other exciting features, such as remote sirens and video storage.
The Ring app comes with a diverse set of exclusive features, many of which aren’t even available on the website. Don’t want to sift through hours and hours of video footage? Maybe you’d like to make use of the snapshot feature that takes screenshots from the footage at predetermined intervals.
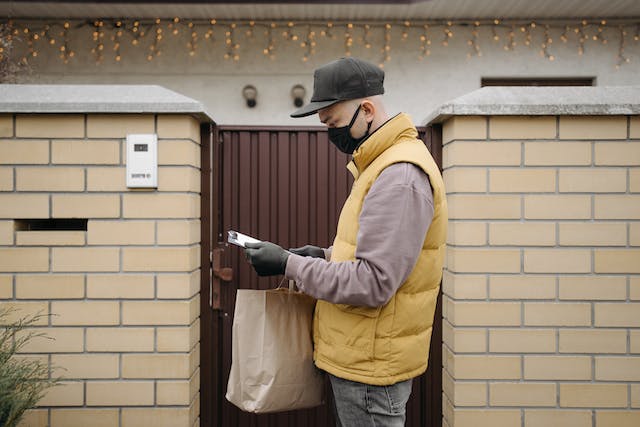
In the unfortunate scenario that you get hit with a burglar attack, you’ll wish you had installed a Ring product earlier. The installation process is super easy, and you’ll be up and running in no time at all.
One of the biggest reasons Ring Doorbells are so convenient to use is because everything connects to your Wi-Fi. All you need is a stable internet connection, and you’ll never miss anything going on at your door.
The initial setup is not that difficult, but the challenge arrives when you have to change certain things. For example, there are a myriad of reasons that may require you to change the settings on your Ring Video Doorbell, and you might find yourself wondering about how to change the WiFi on a Ring Doorbell.
Before you get baffled, we compiled this handy little guide that contains all the step-by-step instructions on how to change the WiFi on a Ring Doorbell. Give it a read, and by the end of it, you won’t have any questions about your Wi-Fi settings.
Step-by-Step Instructions
There could be several reasons you wish to change the Wi-Fi network on your Ring device by adding a new network. It’s possible that your home network goes down so you need to connect your Ring account to another one.
It’s also possible that you install a new network at your place and wish to connect it to your smart home devices. Or, you may get a new place altogether, but take your old Wi-Fi doorbell with you.
Regardless of what your reason is, it’s helpful to know how to change the Wi-Fi on a Ring Doorbell because you never know when it may come in handy. Unfortunately, the company didn’t really devise a simple process for adding a new Wi-Fi network.
The issue is that you can’t change the Ring Doorbell Wi-Fi directly from the device, but you can use the Ring app on your mobile device to do it, and we’re here to tell you how.
Step 1: Open the Ring Camera app on your phone and navigate to the three bars at the top right corner of your homepage. Then, select ‘Devices’, and choose the device you intend to change the network for. This will bring you to the Device Dashboard.
Step 2: From here, you can access some crucial device settings by going to ‘Device Health’. This is where you find all the vital information, such as voltage, signal strength, and when the last device health check was.
Step 3: Here, there will be a sub-option to ‘Change Wi-Fi Network’; click on it, select the Wi-Fi you wish to connect with and add the new password. Once the connection is successfully established, you will be good to use your Ring gadget with the new Wi-Fi network.
While these three easy steps will fix your connection problems, sometimes the network settings on your device will be slightly different. Instead of there being an option to directly change the Wi-Fi connection, you will have a different option that says ‘Reconnect to Wi-Fi.’
If you still wish to change your wireless network, here are the steps you’ll need to follow:
Step 1: Select the option that says ‘Reconnect to Wi-Fi network’.
Step 2: The setup process after this will ask you to press the ‘orange button’.
Step 3: For this purpose, you’ll have to unmount your Ring device and find the orange button on the back. This process is known as going into setup mode.
Step 4: Keep the button pressed for at least 20 seconds before you release it. This will send the device into a hard reset.
(Please note that the reset button might be slightly different based on the Ring Doorbell model you have. For example, for a Ring Doorbell Pro, you will have to hold down a black button on the right side of the camera. The Ring Chime Pro also has a reset button on the side of the device.
For a Ring Doorbell Elite, you’ll find the black button on removing the faceplate. Please use the Ring website to look up where the reset button is on your Ring Doorbell Device. The reset button may also be referred to as the set-up button.)
Step 5: Once you’ve pressed the button on the back of the device, the Ring light on the front will start flashing. Once this light dies down, the reset is complete. Following these simple steps will ensure that your Ring device forgets its Wi-Fi settings.
Step 6: Then, you can simply change the Wi-Fi network by connecting the device to a new one.
If this simple process of unmounting and resetting your security cameras seems like too much hassle, there’s another nifty little hack you can make use of.
You can change the name of your SSID to that of your old home Wi-Fi network or Wi-Fi router. This may sound like a weird way of doing things, but it’ll help you connect to the new Wi-Fi network.
Once you’re in the zone making all of these changes, you can even use your Ring app security settings to change the password for your Ring Doorbell account, just to strengthen that layer of security.
Troubleshooting:
It’s good to connect with a new Wi-Fi router, but sometimes you need to figure out the problems with your previous home network. It’s entirely possible that the network is fine, but your Ring Doorbell Wi-Fi is just not connecting to it. There are a few simple steps that will help you get the answer to that question as well.
The most basic issue is that one of your Wi-Fi routers may be overheating. Before you run to get a new router, try this simple method. Shut the router down, unplug all of its cables, wait a few minutes for everything to cool down, and then restart your router. This may seem like the simplest solution in the box, but you’ll be surprised at how often it works.
The second problem could be with your GHz frequency. Most Wi-Fi connections are on a 2.4 GHz network, which is what your Ring device needs. In the rare scenario that your internet connection is on a different GHz network, you will have to change your internet service provider and get a new router.
If the GHz network is not the issue, then it may be the Wi-Fi channel. Make sure your Wi-Fi connection is set to channels 1-11 because Ring products may not work on channels 11-12. You should also check your Wi-Fi speed and signal strength to ensure that they’re not the cause of your connection issues.
In case your smart devices experience frequent problems with signal strength, you can also consider installing a Wi-Fi extender. A Wi-Fi extender will improve the signal in your home, thus improving the smart devices’ performance.
If all else fails, you have the option to reach out to Ring Support Service through the app or the website. The Ring Support Centre will help you figure out what is wrong with your Ring Wi-Fi network.
To Sum It Up
Problems with the Wi-Fi settings on your Ring device can be tricky to solve. The first step is always to discover whether the issue is with the device, the internet service provider, the setup mode, or the power source.
Once you have the initial process figured out, you can simply follow our easy steps to solve the problem. We understand that the steps might be intimidating for some people because the process can seem unnecessarily complicated.
However, you should rest easy knowing that it’s very rare for Ring devices to run into problems like these. And when they do, you can simply follow our handy little guide and the on-screen instructions to take care of the issue.
If you have any further questions, let us know, and we’ll figure out the solution together!
We’ve got more interesting and instructional articles about smart home devices. Check out a couple below!
- Smart Home Tech That Can Improve Your Life
- The Art Of Home Automation: Integrating Air Conditioners Into Your Smart Home Ecosystem
- 5 Reasons Why Smart Homes Are The Wave Of The Future

Farah Jassawalla is a technology enthusiast with a keen interest in AI, ML, and anything digital. Her passion for technology extends into her work as she currently manages the blog and social media for one of Canada’s most awarded tech and IT companies, in addition to consulting and writing for other brands. She’s an avid reader, writer, and researcher who is always looking out for the next big update in the digital world.