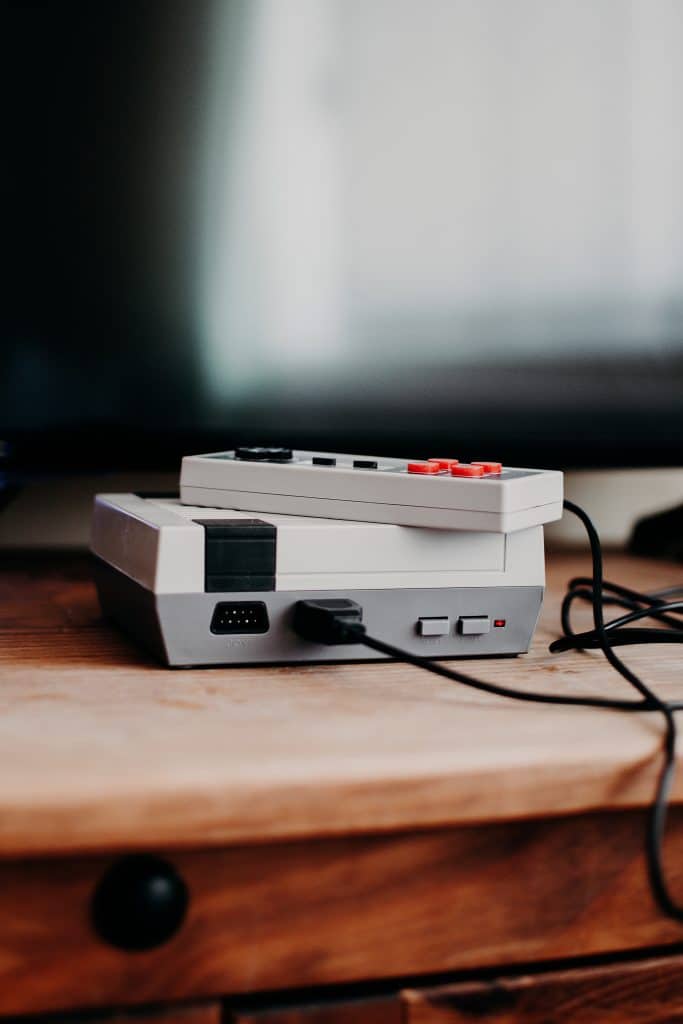
With the recent release of the Raspberry Pi 4, with its superior processing speeds and better performance, more and more people are delving into the world of coding. Thanks to its improved functionality, it now has the potential to run games that were previously beyond Pi’s power, much to the delight of fans across the world.
There are now multiple gaming emulators for the Raspberry Pi such as Retropie, Recalbox and Lakka, that make it quick and simple to start playing your favourite games. It’s also fairly easy, legal and cheap to use Pi 4 as a gaming console, which makes it a popular choice for many gamers over standard consoles.
What are the basics you’ll need?
If you’re looking to bring your favourite old school games back to life you’ll need two things. Game ROMs and an emulator. A ROM is simply a copy of a game that exists on your device and an emulator is the application that enables you to play the ROM. Oh, and you’ll also need your Raspberry Pi 4!

How to get started
When you boot up your Pi 4 it will automatically load the EmulationStation. Simply put, this is a program running off a RetroPie SD card. It enables you to use a controller to choose an emulator and a game without ever needing to touch a keyboard of mouse! As soon as your setup is complete, you’ll be able to do everything you need to from the Raspberry Pi controller.
Above and beyond the games you’ll be wanting to play, you’ll also get access to Kodi. This is media centre software that transforms your Pi into an all singing, all dancing entertainment centre! It’s pretty amazing!
What other things will you need?
- A micro USB power supply
- An 8GB micro SD card at a minimum
- USB controllers of your choice
- A USB keyboard (for the initial setup only unless you want to use it to control your games)
- TV or monitor and the cables
- A Windows, Mac or Linux computer to set up your SD card and transfer your ROMs

Steps to getting set up
If you’re looking for a rundown of the setup process, here are the simple steps you’ll need to follow to get yourself up and running for gaming.
- Download and install RetroPie on an SD card
- Set up EmulationStation to give your Pi a boost
- Set up your Wi-Fi
- Transfer your ROMs from your computer
And that’s it! Now you’ll be able to start enjoying your favourite games and even watching your favourite movies and TV shows on your new entertainment centre.


Leave a Reply