With the latest advancements, a lot of things have been changing rapidly in the technical field. From automated cross-browser testing to parallel browser testing, we have come a long way for problems related to web applications. And now it’s time that we talk about another updated feature for our web application testing.
Most of the things were still complicated for enterprises and businesses, as they need to perform most of the tasks separately. But now with multiple APIs available for Selenium automation testing platform, you can obtain reports for various web app scenarios, like test run time, errors, test logs, command by command screenshots, etc.
One such API that was highly in demand by enterprises is Screenshot API that allows you to build compelling visual regression testing applications or screenshot-based testing reports.
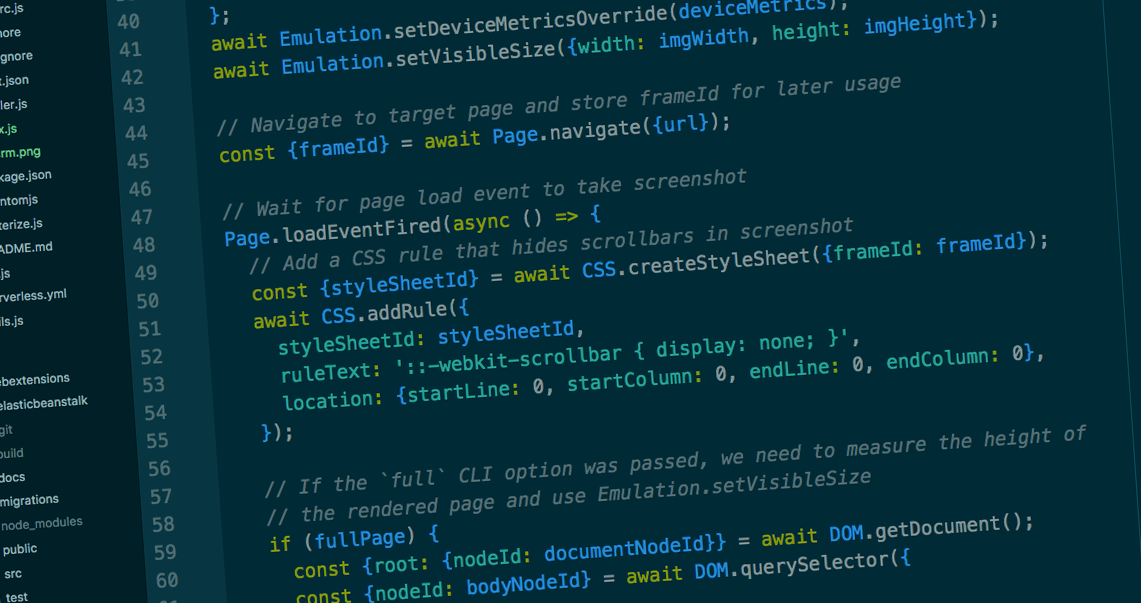
In this article, we will discuss the benefits of using Screenshot API and how you can generate automatic screenshots with Selenium Screenshot API. We are using LambdaTest Screenshot API to demonstrate the same.
Screenshot API from LambdaTest
Screenshot API is one of the most useful features offered by any testing platforms, and LambdaTest has leveraged the chance to provide this fantastic feature for its customers. The screenshot API can also be used for reporting, monitoring, and version control.
Screenshot API is a feature for screenshot testing of web apps that enable users to take full-page screenshots on different desktops, browsers, and operating systems with a single click. Apart from helping you with visual regression and cross browser testing, Screenshot testing can also be utilized to test the responsiveness of your webpages.
However, the outcome for this type of testing depends upon whether you’re using automated screenshot testing or manual screenshot testing. For example, a manual screenshot testing session on LambdaTest consist of the below steps:
1. Go to https://app.lambdatest.com/console/screenshot.
2. Type the URL for which you want to perform cross browser testing.
3. Click Capture to start the screenshot testing on selected browsers and OS combinations.
4. During testing, if you encounter any UI anomaly, highlight the section in the screenshot before sharing it with your project management tool.
That sounds like a lot of manual efforts, especially when you want to automate the entire process of your cross browser testing. But, with the integrated LambdaTest automated screenshot API, you can do a lot with a single click like generating multiple screenshots across various browsers and desktops for any URL you want.
LambdaTest Screenshot API gives you the convenience to capture bulk screenshots on a combination of multiple browsers and operating systems, and that too without visiting the LambdaTest platform.
What you need to do is generate a JSON file into your API development environment with the required configuration, and then invoke the API, and you’re good to go. Apart from invoking the tests, you can also download the screenshots as a zip file.
The benefit of using LambdaTest Screenshot API is that it enables you to maintain a daily check on your web app while allowing you to release your test cycles quickly. Let’s now see how you can use LambdaTest Screenshot API to take screenshots.
LambdaTest Screenshot API Endpoints
To create automatic screenshots for your web app with screenshot API, you can use this API endpoint: https://api.lambdatest.com/screenshots/v1
To use this, you need to register with LambdaTest and get the access token. After accessing the Screenshot API, you can use the following URLs:
· Get a list of Browser + OS combinations on LambdaTest with the following GET request: https://api.lambdatest.com/screenshots/v1/os-browsers
· Get all the available screen resolutions with the following request: https://api.lambdatest.com/screenshots/v1/resolutions
Note: To use the GET request, you’ll have to use Test ID with the below command. It would fetch all the details in JSON format for all the bulk screenshots captured in a test session.
https://api.lambdatest.com/screenshots/v1/Test ID
Now, let’s talk about how to generate automated screenshots for your website in multiple browser & OS with LambdaTest Screenshot API.
Getting a list of Browser and OS combinations
1. To get a list of combinations of OS and Browsers available on LambdaTest, you’ll have to use the curl request on the following URL. https://api.lambdatest.com/screenshots/v1/os-browsers
2. The client URL will look like this: curl -X GET https://api.lambdatest.com/screenshots/v1/os-browsers
-H “accept: application/json” -H “Authorization: Basic 123456789abcdefghijklmno=”
3. After executing the above commands, the server will respond in the following way.
{
“windows 10”: {
“chrome”: [
“74”,
“73”
],
“firefox”: [
“66”,
“65”
],
“opera”: [
“55”,
“54”
]
},
“macos mojave”: {
“chrome”: [
“74”,
“73”
],
“firefox”: [
“66”,
“65”
],
“opera”: [
“55”,
“54”
]
}
}
If you want to extract the server response, you can extract it in a JSON file.
Getting all Screen Resolutions available on LambdaTest
After getting the combination of all the browsers and operating systems, you can get all the available screen resolutions on LambdaTest platform.
1. To request all the resolutions you can use the following URL: https://api.lambdatest.com/screenshots/v1/resolutions
2. The client URL for authorization will be as follows:
curl -X GET “https://api.lambdatest.com/screenshots/v1/resolutions”
-H “accept: application/json” -H “Authorization: Basic 123456789abcdefghijklmno=”
3. After executing the above command, the server response will be as follows:
{
“mac_res”: [
“1024×768”,
“1280×1024”
],
“win_res”: [
“1024×768”,
“1280×1024”
]
}
You can save the server response in JSON format.
Getting Screenshots for Already Executed Test Session
If you want to generate screenshots for an already executed test session, then you need the following test details:
· Test ID
· Test Status
· Defer time
· Tested URL
· Callback URL
1. The requested URL would be as followed:
https://api.lambdatest.com/screenshots/v1/Test ID
It’s necessary to have a Test ID to use GET request. It will fetch all the details in JSON format for all the screenshots captured in a test session.
2. The client URL would be as followed:
curl -X GET “https://api.lambdatest.com/screenshots/v1/TES11111111111111111111111111”
-H “accept: application/json” -H “Authorization: Basic 123456789abcdefghijklmno=”
3. Look at the below example to better understand.
{
“test_id”: “TES11111111111111111111111111”,
“defer_time”: 5,
“test_status”: “completed”,
“url”: “https://www.lambdatest.com”,
“callback_url”: “https://www.example.com”,
“screenshots”: [
{
“os”: “windows 10”,
“browser”: “chrome”,
“browser_version”: “74”,
“status”: “completed”,
“screenshot_url”: “https://s3.amazonaws.com/s3-screenshots/prod/ACT100968331562237283340194/screenshot/win-cr-74.0.png”,
“thumbnail_url”: “https://s3.amazonaws.com/s3-screenshots/prod/ACT100968331562237283340194/screenshot/win-cr-74.0.png”,
“activity_id”: “ACT100968331562237283340194”,
“resolution”: “1024×768”
}
]
}
This way you can generate screenshots for an already executed test session. Now, let’s move to starting a screenshot for your website.
Starting a Screenshot Test with Screenshot API
LambdaTest Screenshot API allows you to perform cross browser testing on your locally hosted web pages even with basic authentication. You can also provide a Callback URL. So, let’s begin with a basic screenshot test.
1. Trigger the below request to begin with screenshot test:
https://api.lambdatest.com/screenshots/v1
2. The client URL would be as followed:
curl -X POST “https://api.lambdatest.com/screenshots/v1” -H “accept: application/json”
-H “Authorization: Basic 123456789abcdefghijklmno=” -H “Content-Type: application/json” -d “
{\”url\”:\”https://www.lambdatest.com\”,\”defer_time\”:5,\”email\”:true,\”mac_res\”:\”1024×768\”,
\”win_res\”:\”1366X768\”,\”configs\”:{\”windows 10\”:{\”chrome\”:[\”74\”],\”firefox\”:[\”66\”],
\”opera\”:[\”58\”],\”ie\”:[\”11\”]},\”macos mojave\”:{\”chrome\”:[\”74\”]}}}”
3. The example value would look something like this:
{
“url”: “https://www.lambdatest.com”,
“defer_time”: 5,
“email”: true,
“mac_res”: “1024×768”,
“win_res”: “1366X768”,
“configs”: {
“windows 10”: {
“chrome”: [
“74”
],
“firefox”: [
“66”
],
“opera”: [
“58”
],
“ie”: [
“11”
]
},
“macos mojave”: {
“chrome”: [
“74”
]
}
}
}
Screenshot Testing for Locally Hosted Web Applications
To generate screenshots for your locally hosted web applications, you will have to declare the below parameter in your request before specifying the configuration.
“tunnel”: true,
The example value would look something like this:
{
“url”: “https://www.lambdatest.com”,
“defer_time”: 5,
“email”: true,
“mac_res”: “1024×768”,
“win_res”: “1366X768”,
“configs”: {
“windows 10”: {
“chrome”: [
“74”
],
“firefox”: [
“66”
],
“opera”: [
“58”
],
“ie”: [
“11”
]
},
“macos mojave”: {
“chrome”: [
“74”
]
}
}
}
And that’s how the screenshots will be generated for locally hosted web applications.
Screenshot Test with Basic Authentication
Performing screenshot test with basic authentication is very simple.
1. Declare the below command in your request before identifying the configurations: “url”: https://www.basic-auth.com
“username”: “username”,
“password”: “password”,
2. The example value would look like this:
{
“url”: “https://www.basic-auth.com”,
“defer_time”: 5,
“email”: true,
“mac_res”: “1024×768”,
“win_res”: “1366X768”,
“username”: “username”,
“password”: “password”,
“configs”: {
“windows 10”: {
“chrome”: [
“74”,
“73”
]
}
}
}
Stopping a Screenshot Test
During the cross browser testing, if you wish to stop a screenshot test, you can easily do it using the PUT request. However, make sure you have a Test ID, as you need it to convey the particular screenshot test that you want to abort.
1. The requested URL for stopping a screenshot test would be as followed: https://api.lambdatest.com/screenshots/v1/stop/TES11111111111111111111
2. The client URL would be as followed. Executing the below URL will only terminate a running test session.
Client URL: curl -X PUT “https://api.lambdatest.com/screenshots/v1/stop/TES100962431563281759448763”
-H “accept: application/json” -H “Authorization: Basic 123456789abcdefghijklmno=”
Also, providing a Test ID of an already completed test session will result in a 404 error as server response.
Now, you don’t have to write selenium-based scripts to generate screenshots across multiple browsers, OS, and devices. It all can be done quickly with LambdaTest Screenshot API.
Conclusion
Generating screenshots manually by writing selenium-based scripts is a very complicating and onerous task. It not only takes a considerable amount of time but writing different scripts for different browsers and OS can also result in bugs. But, with the help of automated screenshot API, you don’t have to write various scripts. LambdaTest Screenshot API uses Selenium in the backend and generates automatic screenshots for all the browser and OS stored in our server. So, take advantage of this ultimate feature and make your screenshot testing easier for multiple operating systems, browsers, and browser versions.





Leave a Reply