

After choosing the dream track and researching it, you want to keep the incredible memories to come. But remember that you are not a professional photographer, see the photo of the full moon that always comes out blurred. Stay calm! We have separated 5 tips to get the best photos on trails. But don’t forget that you have to deal with the best trail camera if you want to produce high-quality pictures.
1. Understand the basics of photography
Shutter, diaphragm, and ISO. If that doesn’t make any sense to you, the first step to getting the best trail photos is learning these concepts. The diaphragm controls the amount of light entering the camera. The larger the diaphragm number (1/32, for example), the closer it is, the less light enters. The smaller (1 / 1.2, for example), the more open, the more light. In a dark environment, for example, the incoming light will already below. Therefore, it is recommended to use the most open diaphragm (smaller number).
2. Choose a good outfit
To get the best trail photos, having good equipment is critical. There are more amateur cameras, semi-professional cameras, professional cameras, action cameras (GoPro and Action Cam) and cell phones. Is it possible to make good photos with all of them? Yes. But some cameras have more features and allow you to dare more. Canon and Nikon are traditional brands that have good models of any category. You must evaluate the cost-effectiveness and type of trail.
Some are more contemplative and allow you to carry more robust cameras, such as semi-professional and professional cameras. Other trails are more complicated, and action cameras are better suited. In addition to the cameras, keep in mind the tripod, which is critical for taking a long exposure, dimly lit photos. Other accessories are important, such as an extra battery, a lens for near and far subjects, polarizing filter (reduces glare) and memory card with plenty of space. With all this, it is possible to get the best photos on trails.
3. Set up your camera according to time
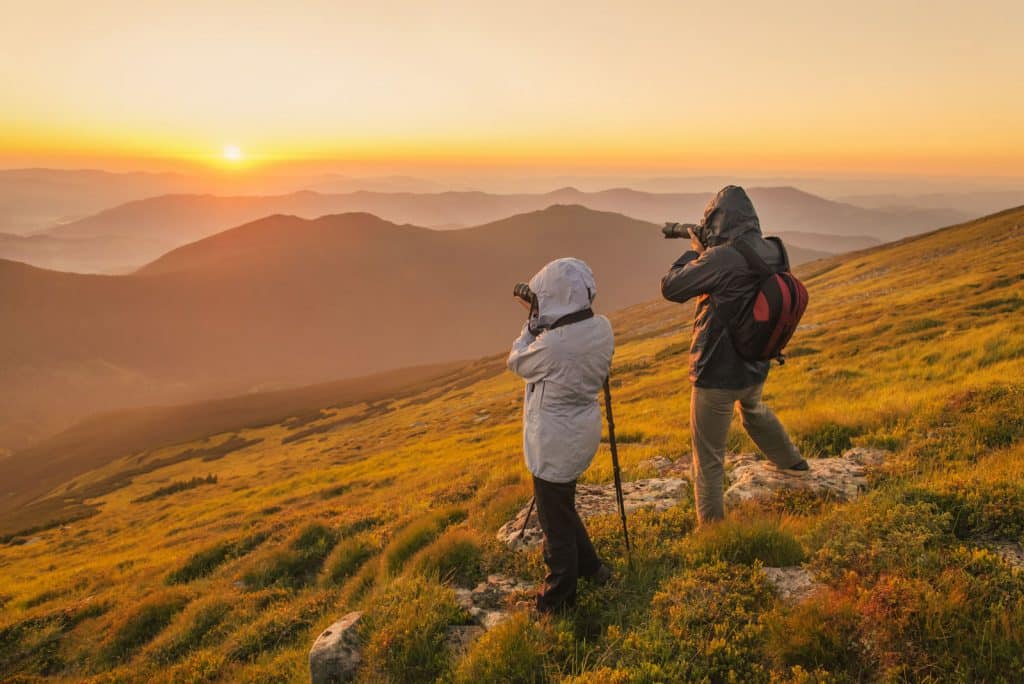
Following the principles of photography, remember how much light you have at your disposal. The best times to shoot are early morning and late afternoon, as natural exposure is ideal and leaves the cinematic images. Some GoPro Camera Solutions cameras have automatic adjustment according to the light. There are functions of sunset, beach, night photos. Take a look at your gear before making the trail.
4. Set up your camera for the reason
You have come across a wonderful waterfall and want to take a picture of the moving water. The first thing is to choose whether you want a frozen or “blurry” photo, which gives a professional photo effect. In any case, apply photographic principles. Since water is moving, you can choose either fast (freezes the image) or slow (blurs the image) shutter.
Remember to consider the ISO and the diaphragm as much light available. The same applies to star photography. With the light almost absent, it takes a long exposure (and patience, therefore). Sometimes 30 seconds is not enough. So have a remote trigger. Whenever there is a long exposure, the tripod is critical. A wide-angle lens also helps because it captures the immensity of the sky and the landscape.
5. Understand what time-lapse is
On your friend’s Instagram, you saw a 10-second video depicting the sunset, made on a trail in London. Curious about how to make an event that lasts almost an hour fit into a 10-second video? It is time-lapse. You need plenty of time, stability (look at the tripod here again!) And at least a cell phone with the time-lapse app. For your info, you can get tons of useful apps in Takes App. If you have a modern camera, connect the timer trigger and choose how many clicks it should make in a given time interval.
Did you like the tips? Now just climb a mountain and train!