
Do you ever feel overwhelmed by your noisy environment? You’re not alone – noise is one of the most common complaints in both work and residential spaces.
Thankfully, it’s possible to reduce sound reverberations and even improve the acoustics within any given space with something as simple as soundproofing panels. They can turn a space that was once too loud into a peaceful atmosphere ideal for working or simply relaxing.
This guide will provide you with all the information needed to make soundproof panels a part of your home or office transformation. From understanding how they work, what materials are used, and where they can be installed – this step-by-step guide has all the answers on how to get started transforming your space with soundproof panels today!
Introducing Soundproof Panels – Why You Should Consider Having Them
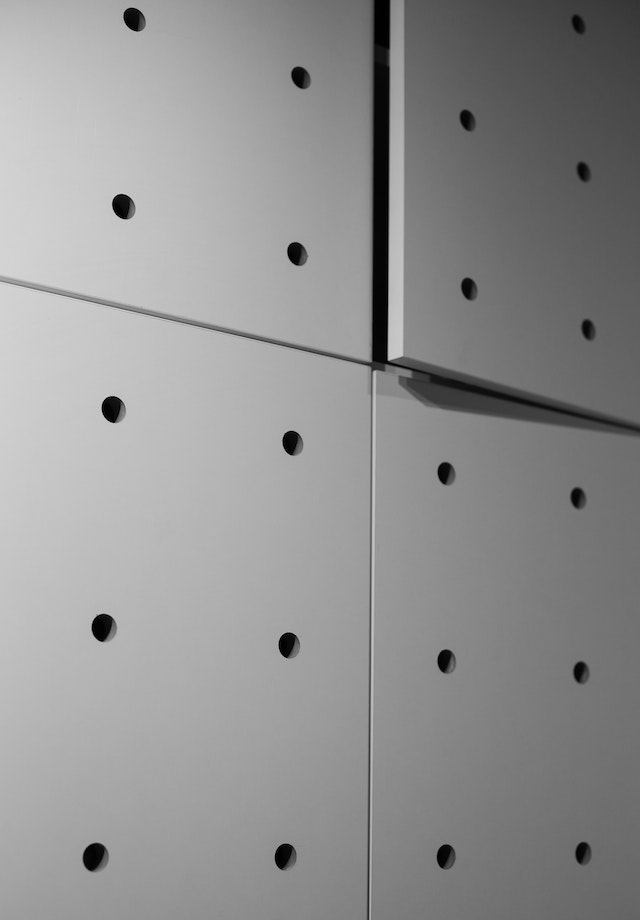
If you’re tired of dealing with unwanted noise pollution in your home or office, it’s time to consider soundproof panels. These remarkable tools can transform any space into a quiet, peaceful retreat. But how do they work, and what makes them so effective?
Essentially, soundproof panels absorb sound energy, preventing it from bouncing around and causing echoes. And the benefits go beyond simply enjoying a quieter environment; studies have shown that excess noise can lead to stress, decreased productivity, and even health problems like hypertension.
Not only do they make your space quieter, but they can also significantly improve the acoustics of a room. So whether you’re looking to create a recording studio, a home theater, or just a peaceful living space, consider incorporating soundproofing panels into your design.
Preparing Your Home for Installation – What You Need to Know
Before transforming your space with soundproof panels, it’s important to prepare your home for installation. First, consider the room you plan to soundproof and determine the type and amount of panels needed.
Next, ensure that the surface where the panels will be installed is clean and dry. Remove any loose paint or wallpaper, and fill any cracks or holes in the wall. It’s also important to make sure that any electrical outlets or switches are covered and protected.
Finally, gather all the necessary tools and supplies, including a drill, screws, and a level. Once your space is adequately prepped, it’s time to consider the way you will secure your soundproof panels to the surface. The application of an appropriate adhesive for acoustic panels is critical, as it ensures that the panels will stay affixed securely over time, maintaining the integrity of your soundproofing project.
The correct adhesive selection is crucial because it needs to bond well with both the panel material and the wall surface, ensuring lasting results. Moreover, the chosen adhesive should not interfere with the acoustic properties of the panels, thereby preserving the effectiveness of the soundproofing transformation you aim to achieve.
Balancing the adherence strength and acoustic neutrality of the adhesive is essential to optimize the performance of your soundproof panels. By carefully preparing your home for installation, you can ensure that the process goes smoothly and the soundproofing panels provide maximum benefit to your space.
Choosing the Right Soundproof Panels for Your Space
The first step in choosing the right soundproof panel is to consider the size and shape of your room. The materials and thickness of the panels should be selected based on the specific sound frequencies you want to eliminate or reduce.
Additionally, you’ll want to think about your aesthetic preferences and whether you want the panels to be visible or hidden.
By taking these factors into account and doing a bit of research, you’ll be on your way to selecting the perfect soundproof panels to transform your space.
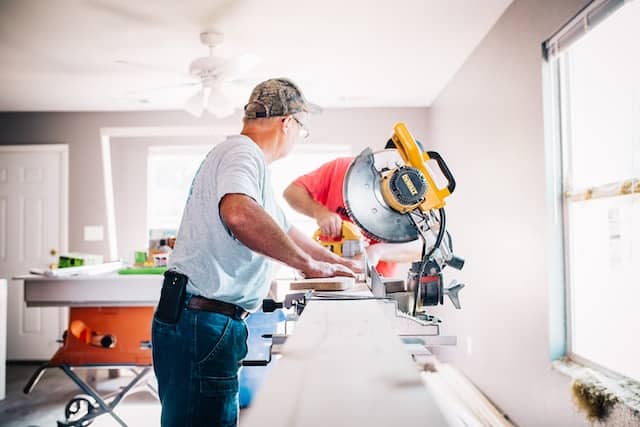
Installing the Panels – Step-by-Step Guide
Installing the panels may seem like a daunting task but with the right guidance, it can be accomplished with ease.
- The first step in this process involves measuring the area where you plan on installing the panels. Accurate measurements are essential to ensure that you purchase enough soundproof panels.
- Next, install the clips or brackets onto the wall. Make sure that they are evenly spaced and that they are sturdy enough to hold the panels in place.
- Finally, align the soundproof panels with the clips or brackets and secure them in place.
It’s important to note that the installation process may vary depending on the type of soundproofing panels you purchase. However, with careful planning and attention to detail, your space can be transformed into a peaceful oasis in no time.
Testing the Effectiveness of Your Soundproof Panels
Having already selected and installed the panels, it’s important to confirm that they are indeed reducing noise and improving acoustics as intended.
One method is to conduct a simple sound test by measuring the decibel level of outside noise before and after installation. This can be done using a sound meter app on your phone or investing in a professional decibel meter.
Additionally, you can conduct a room echo test by clapping loudly and listening for reverberation. With these tests, you can confirm the effectiveness of your soundproofing panels and enjoy the benefits of a transformed, acoustically sound space.
Maintenance & Care Tips for Long Lasting Results
Dust and debris can accumulate on the panels and disrupt their sound-absorbing properties, so regular cleaning is necessary. A gentle vacuum or soft brush can easily remove the buildup.
It’s also important to avoid using harsh chemicals or abrasive materials that can damage the panels. If any scratches or damages do occur, it’s best to address them quickly to prevent further deterioration.
By following these maintenance and care tips, your soundproof panels will continue to enhance your space for years to come.