If you want to install a new kitchen, getting rid of the old one obviously needs to be one of your first steps. Whether you want a total overhaul or just some minor renos, there’s a lot of think about. One of the most important steps in any kitchen and bath design project is paying attention to the cabinets. There are many types of quality cabinets, dovetail cabinets are just one of many options. So here’s a comprehensive breakdown on how to quickly and easily remove old cabinets from your kitchen to pave the way for your revamp.
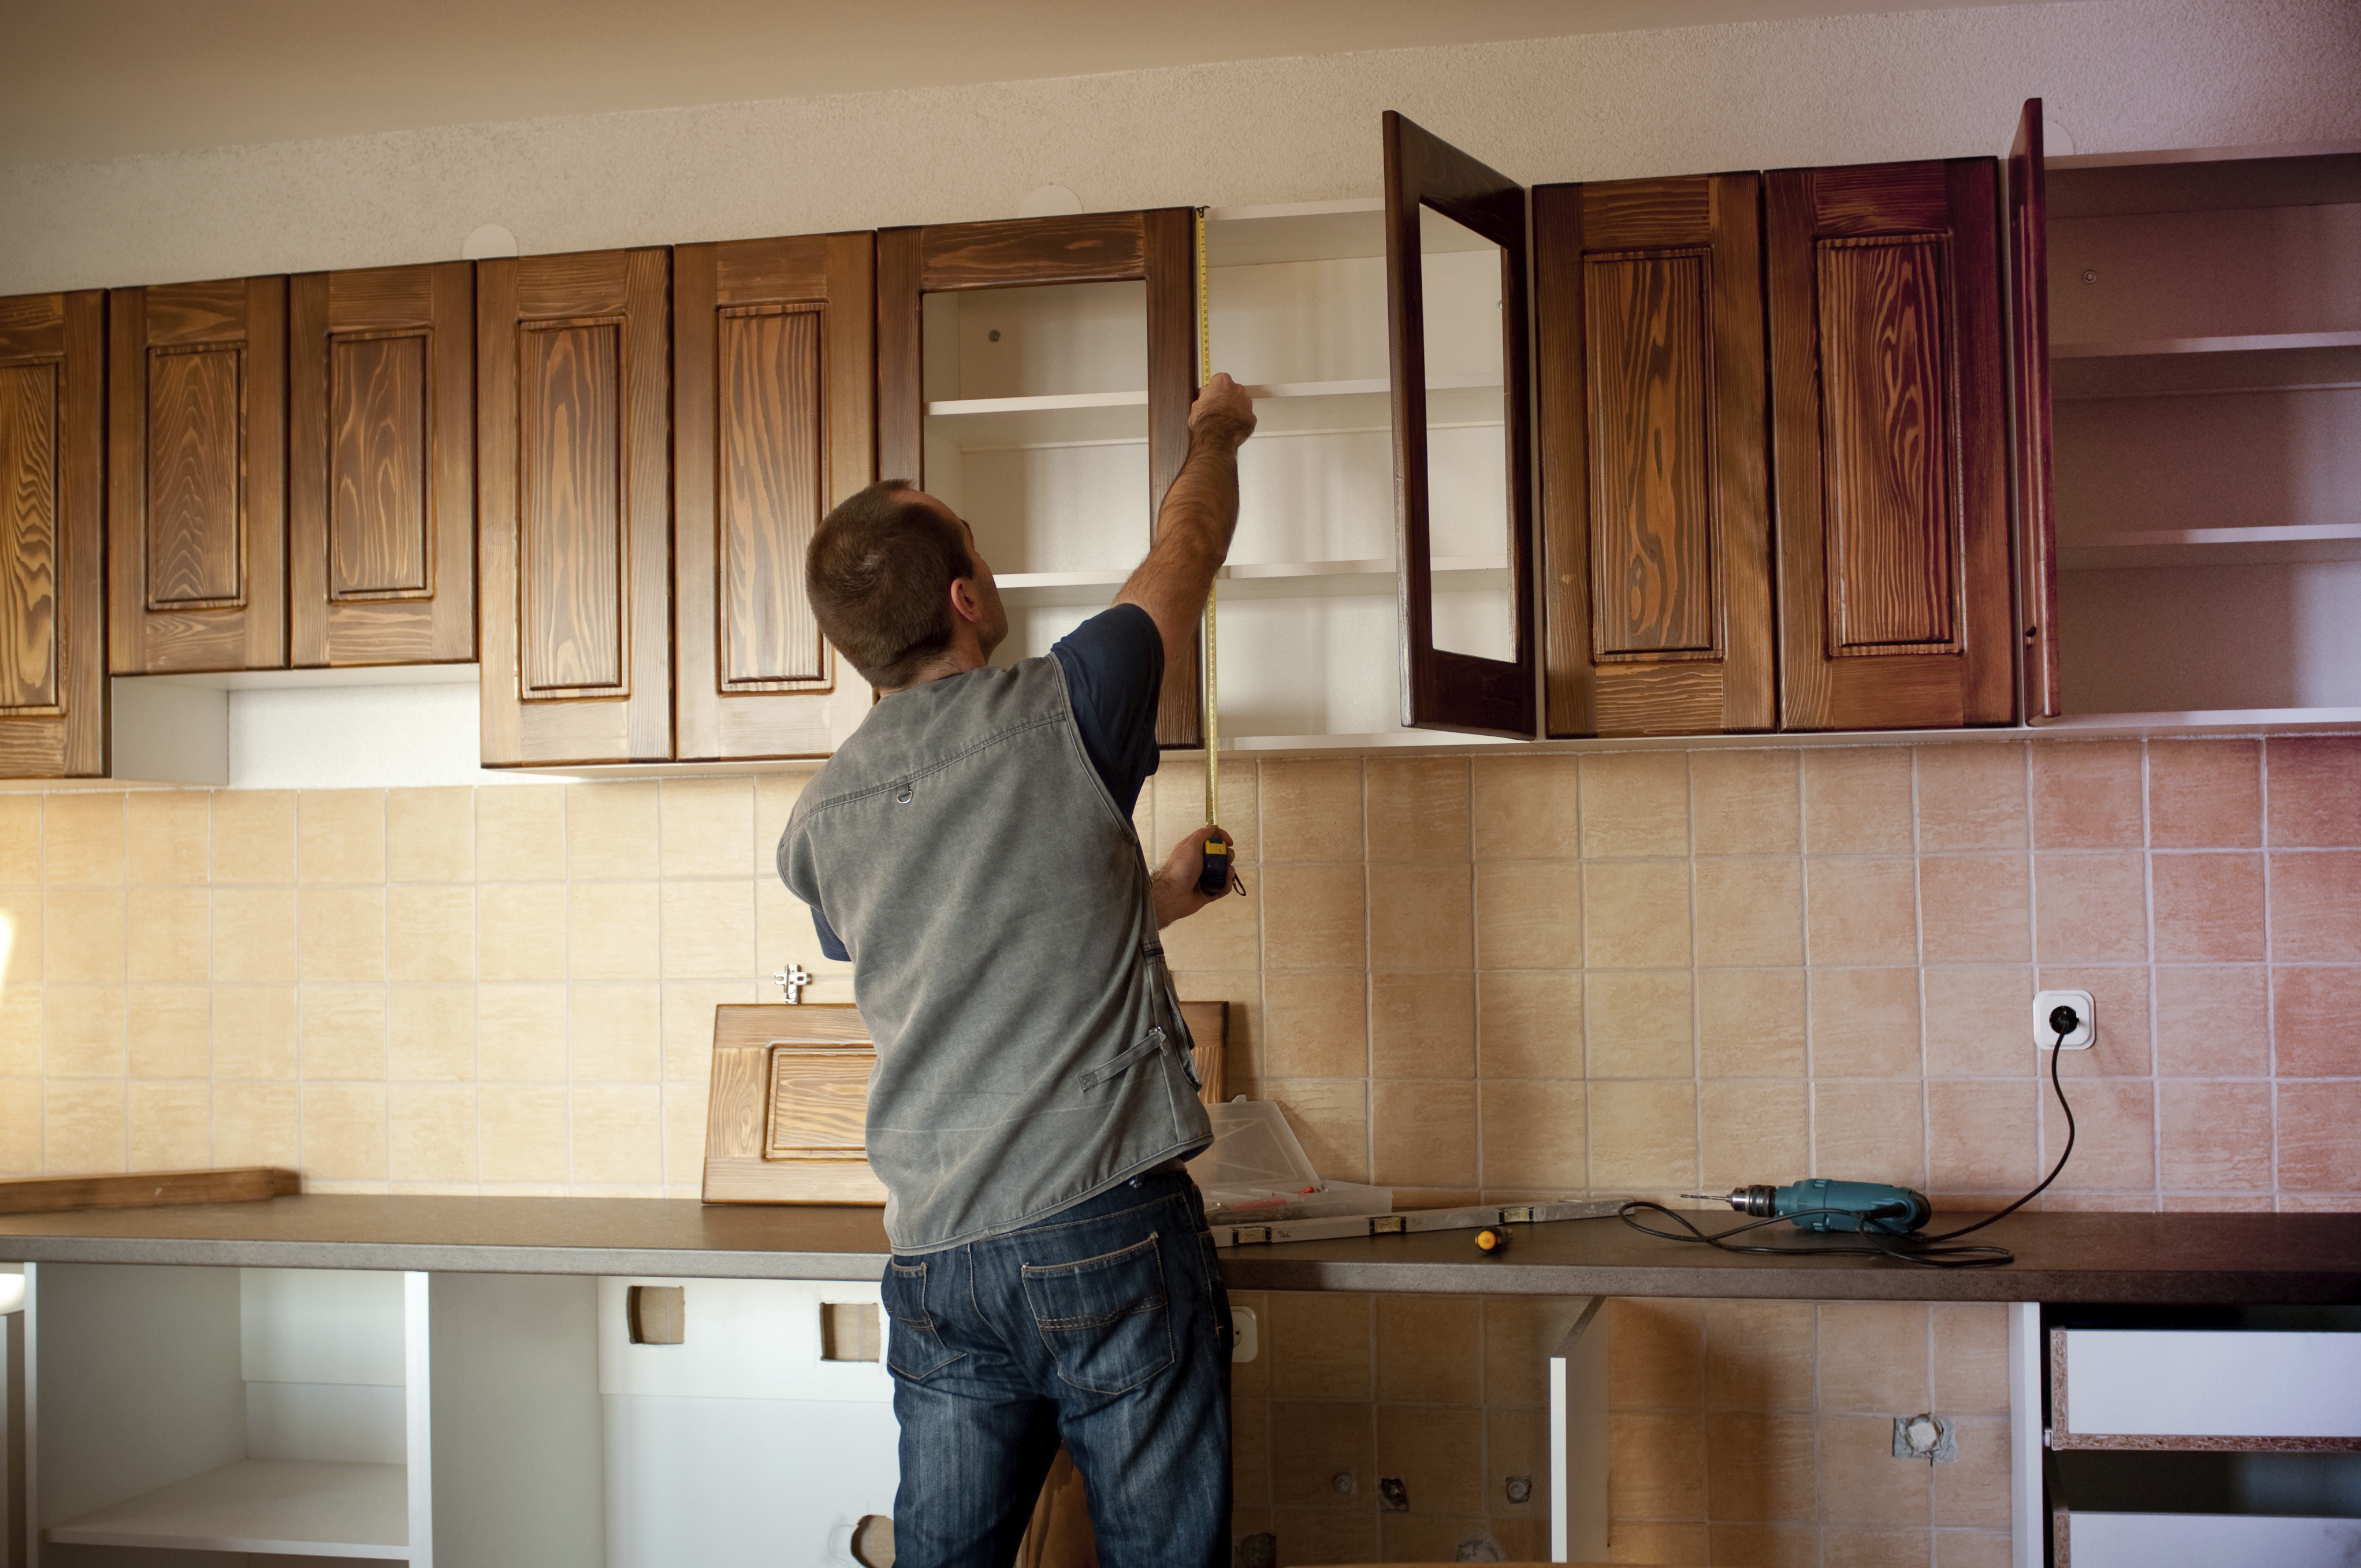
Safety First
As with any home renovation, ensure that you follow basic safety precautions.
1. Wear work boots to protect your feet
2. Keep your eyes protected with goggles
3. You may want to wear a dust mask as well to ensure that you do not breathe in harmful materials
4. Don’t leave any nails sticking out – it’s easy to catch clothing and/or skin on them
5. Keep hydrated and work within your limits, as the work may take several hours
Preliminary Steps
Before removing the old cabinets, there are a few things you need to do first.
1. Remove any trim or molding from around the cabinets
2. Turn off the stop valves under the sink, disconnect the hoses, and remove the sink 3. Disconnect and remove appliances that might get in the way, like the dishwasher, stove, etc.
3. Disconnect and remove appliances that might get in the way
4. Remove the countertop.
5. Remove all the drawers and doors from your cabinets.
Now you’re ready to start the main deinstallation process.
Removing the Toe Kick
The toe kick is a board that is nailed or stapled at the base of a cabinet, and hides the gap between the floor and the cabinet. If the toe kick has no base molding, you’re good to go – otherwise, start with that first.
1. Wedge the straight end of the pry bar between the toe kick and the molding (or the toe kick and the flooring if there is no molding)
2. Tap with a hammer if necessary to get good leverage
3. Pull the pry bar carefully toward you to pop off the base molding or toe kick
4. Pull the molding/toe kick off completely
5. Remove any fasteners that stick out
6. Discard anything you don’t need
Separate Individual Cabinets
Particularly when working on your own, you should remove the cabinets separately to make it easier on yourself.
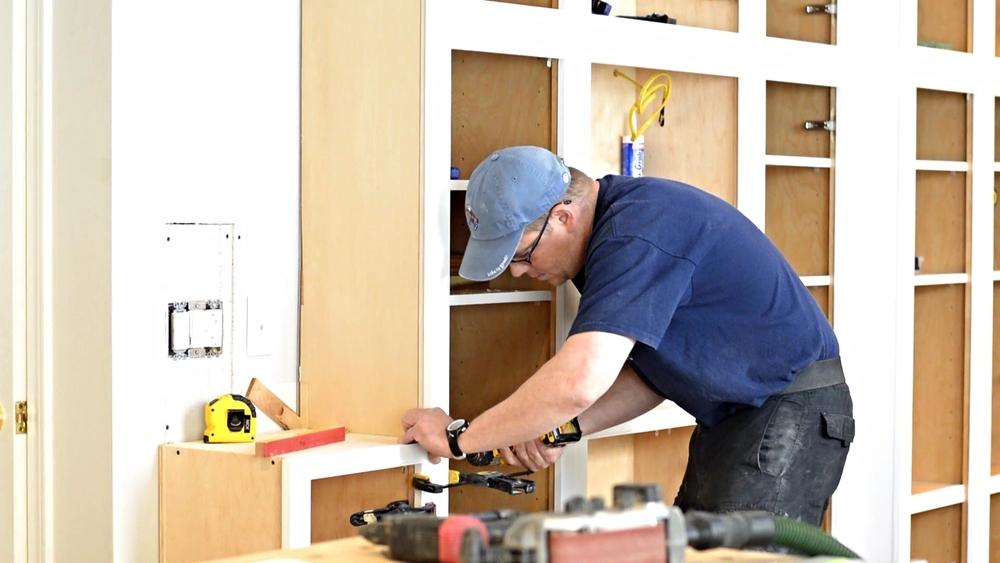
1. Look at the face frame inside the cabinets where they meet each other
2. Identify screws and nails holding the cabinets together
3. Remove these using the appropriate tool
Unfasten Kitchen Cabinets From the Wall
Now you have several separated cabinets free of a toe kick and just waiting to be removed.
1. Locate the nails or screws that attach the cabinets to the wall
2. Check for a screw rail – a stick of plywood inside the cabinet along the top and/or bottom of the cabinet interior
3. Grab either a screwdriver or a hammer to take the fasteners out
4. Double check to make sure that all fasteners and any appliances or anything else (like pipes or a sink) attached to the cabinets has been removed
5. Now you can finally remove the cabinets from the wall – but be careful, especially if they’re heavy!
Cleaning Up
When you’ve finished your cabinet removal, you will often find unpainted or dusty spaces behind where they used to hang.
1. Ensure that the cabinets are adequately disposed of, whether recycled or reused somewhere else
2. Similarly, gather your tools and put them away
3. Remove large pieces of debris
4. Use dry sponges for cleaning walls and wood paneling
5. Sweep the floor to get dust and dirt taken care of; scrub if necessary
6. Finally, clean your countertops (once they have been replaced!)
Now that you’ve finished this part of your kitchen remodel, check out our other guides and posts to find great ideas for the rest of your kitchen remodeling project!
- Kitchen Appliances To Make Your Cooking Experience Easier
- Tips For Buying Kitchen Accessories Online
- Which Kitchen Tile Is Better For You | Know Before You Get It Installed








Leave a Reply