

Office 365 – a cloud-based email platform – offers better security, easy email management, reliability, and advanced features. It also allows the users to access their emails at any time and from anywhere with an internet connection. Due to these and various other reasons, users want to move or upload their MBOX file to Office 365.
If you’re one such user and want to free import your MBOX mailbox data into Office 365, then read this post. In this, we will share the methods to import MBOX file into Office 365.
Methods to Import MBOX File into Office 365
There is no direct way to import MBOX file into Office 365 as this file format is not supported by Office 365. Below, we will share a workaround to free import MBOX file data into Office 365. In this, you need to configure your Office 365 account in Thunderbird to transfer MBOX file data to Office 365. In addition, we will mention an MBOX converter software that can directly import the MBOX file data into Office 365 in just a few simple steps. Let’s discuss these methods in detail.
Method 1: Import MBOX File into Office 365 using Thunderbird Application
In this method, you need to install the Thunderbird application, configure Office 365 account in Thunderbird, and then import the MBOX file into Thunderbird. Follow the process given below:
Step 1: Configure Office 365 in Thunderbird
- Install Thunderbird on your device and launch it.
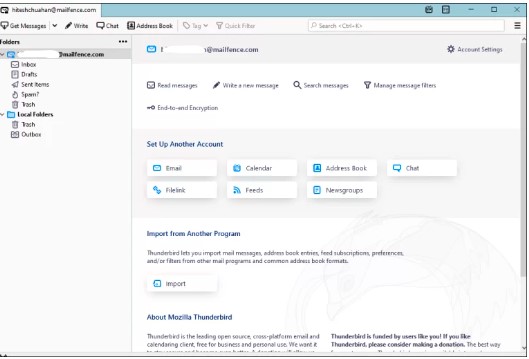
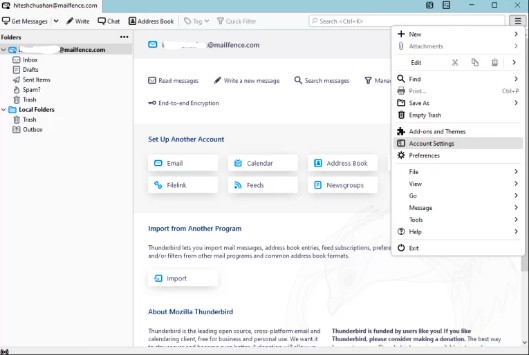
- Go to the Thunderbird menu and click on ‘Account Settings’.
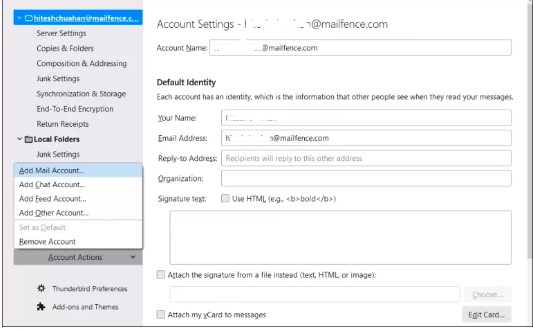
- In the left-hand pane, click on the ‘Account Actions’ and then click on ‘Add Mail Account’.
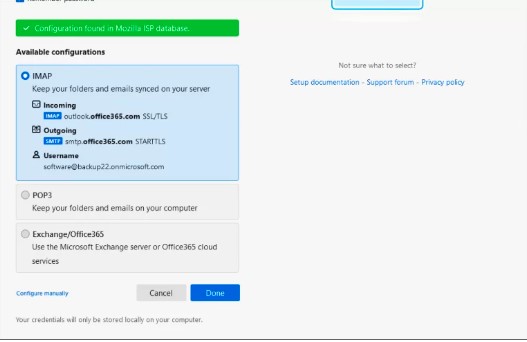
- The ‘Account Setup’ window will appear. Enter your Office 365 account credentials – full name, Office 365 email address, and password. Then, click ‘Continue’.
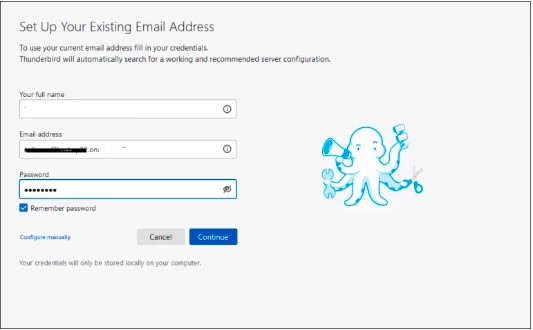
- In the next window, check the IMAP box and click ‘Done’.
Your Office 365 account is successfully configured with Thunderbird. Now, you can see your Office 365 emails in Thunderbird application.
Step 2: Import MBOX File into Office 365 Account
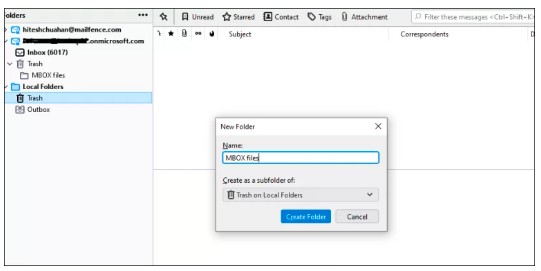
- In your Thunderbird application, right-click on ‘Trash folder’ under the Local Folder. From the options, choose ‘New Subfolder’ to create a new subfolder.
- Choose a name for the subfolder and click on ‘Create Folder’.
- Return to the Menu and click on the ‘Add-ons and Themes’ option.
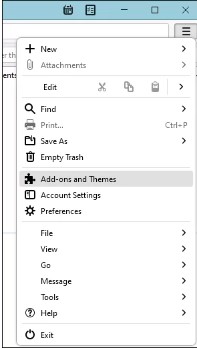
- Search for ‘ImportExportToolNG’ and add it to Thunderbird.
- Now, right-click on the subfolder (created above). From the options list, click on ‘ImportExportToolNG’ and then select Import MBOX file.
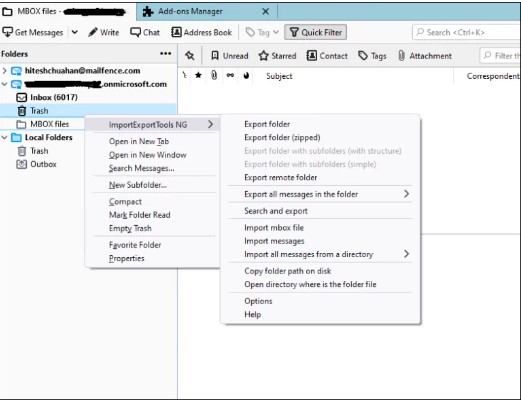
- Select ‘Import directly one or more mbox files’, and click on OK.
- Select the MBOX file you need to import and click Open.
- Your MBOX file will be imported into the selected subfolder.
- Now, open this subfolder, select all the emails, and right-click on them. Go to the Copy to option, select your Office 365 account, and select the folder to import the MBOX file data.
This way the MBOX file data is imported into your Office 365 account.
However, this method is lengthy, time-consuming, and requires some technical skills.
Also Read: Transfer data from Thunderbird to Outlook.
Method 2: Use an MBOX Converter Software to Import MBOX File into Office 365
To overcome the limitations of the above manual method and directly import MBOX file data into Office 365, you can use a specialized MBOX converter software, like Stellar Converter for MBOX – Technician. This advanced software can convert MBOX to PST and could import the data directly into Office 365. In can also save the converted MBOX file data to PST and various other formats, such as PDF, RTF, HTML, etc. The software can also convert multiple MBOX files at once. It has a simple user interface that allows to convert MBOX file in just a few steps. Let’s see how to import MBOX file data into Office 365 using the software.
- Download, install, and launch Stellar Converter for MBOX Technician.
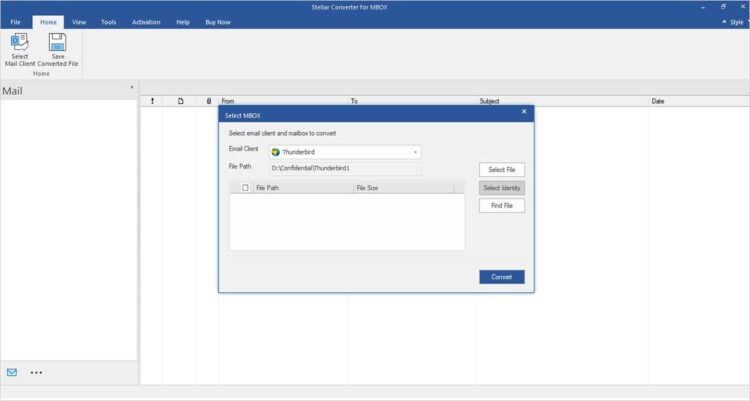
- Click on ‘Select File’ and ‘Email Client’, browse to add the MBOX file you want to import into Office 365.
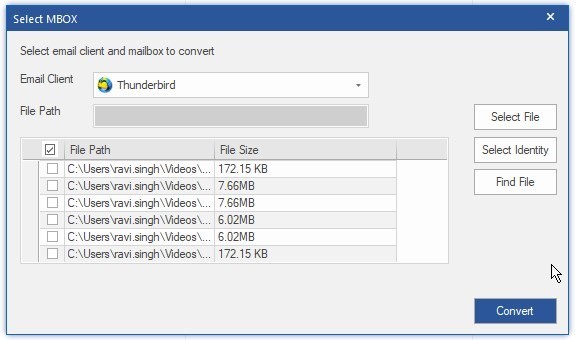
- After selecting the MBOX file, click on ‘Convert’.
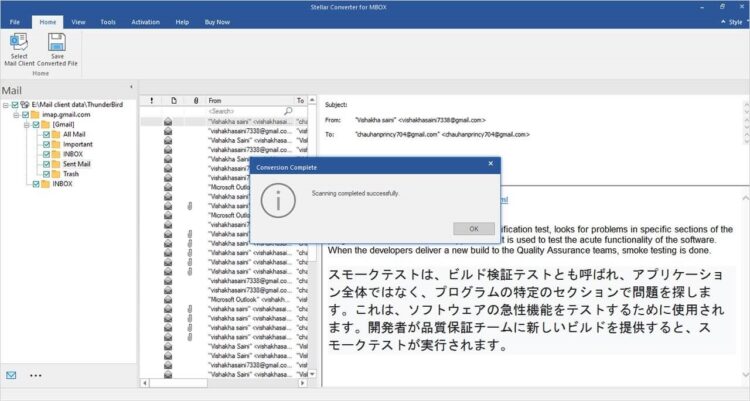
- After conversion, the software will display all the MBOX file data.
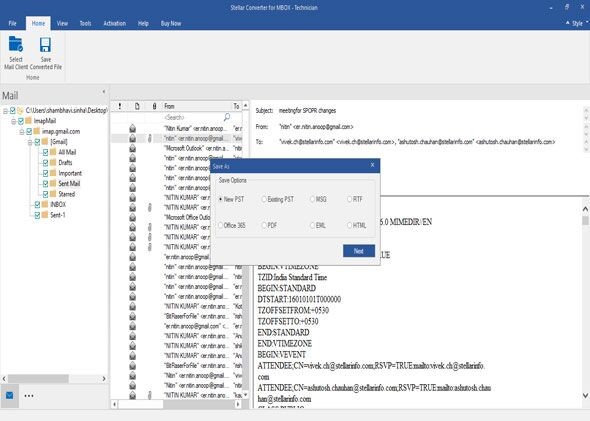
- Select the items you want to import into Office 365 and then click on ‘Save Converted File’.
- The ‘Save As’ dialog box will appear with numerous saving options. Select ‘Office 365’ and click Next.
- You will be asked to enter your Office credentials. Enter your ‘email address’ and ‘password’, and then click ‘Save’.
Conclusion
Above, we have mentioned two methods to import MBOX file data into Office 365. The manual method requires you to install the Thunderbird email client, configure Office 365 in Thunderbird, and then import the MBOX file data. However, this is a lengthy and time-consuming process. To overcome these limitations, you can use Stellar Converter for MBOX Technician, a professional tool that can effectively and efficiently import MBOX file into Office 365. The software supports MBOX files of all popular MBOX-based email clients.