Congratulations, you have realized the effectiveness and importance of video marketing, and have taken the crucial foray into making videos for your business.
The next important thing for you is to break through the clutter of billions of hours of videos on the internet. And post-production plays a massive role in deciding whether your brand will leave a memorable impact on your target audience, or will be doomed to a life of ignominy in the infinite scroll. You can use the best script, the best shots, the best actors, even the best footage – but it would mean nothing if your post-production game is off!
If you’re looking to create a brand video that truly stands out, it’s important to work with a professional video production company that has the experience and expertise to bring your vision to life. If you’re located in Houston or the surrounding area, be sure to check out Moffett Productions.
As a leading Video Production Company Houston, Moffett Productions offers a range of services to help you create the perfect video for your brand, including pre-production planning, filming, editing, and post-production. With their state-of-the-art equipment and skilled team of professionals, you can trust Moffett Productions to deliver a high-quality video that captures the essence of your brand and resonates with your audience. So why wait? Click here to learn more about Moffett Productions and take the first step towards creating a brand video that truly stands out.
Creating a standout brand video requires not only a strong concept and high-quality production but also attention to detail during the post-production process. To ensure your video truly shines, consider implementing these seven post-production hacks shared in this informative article. For a seamless and professional experience from start to finish, partnering with a video production Houston company can help you achieve the desired results and make your brand video truly stand out.
1. Avoid over-filtering
No one, absolutely no one enjoys a video that looks overcooked and over-saturated. While filters can work amazingly well for stills, the difference in lighting across your footage makes it extremely difficult to use a single filter that will accentuate all your shots perfectly. You might as well do without them.
In case you do want to use filters, make sure you use adjustable ones that come with professional editing software like Adobe Premiere Pro.

Most importantly, you’re the best judge of the tone of your brand – make sure your visuals project the same.
2. Get your white right
Digital cameras can capture the color ‘white’ in different ways, depending on the color temperature of the environment where the shot is taken as well as the chosen white balance of your camera. Shots taken with Automatic White Balance often fail to distinguish true white that we see through our eyes – shots in colder temperatures have a bluish tinge over them, while the ones taken in warmer temperatures have a small layer of orange where the whites are supposed to be (we’re looking at you Narcos: Mexico!).
To avoid color casting, it is best to manually set the camera’s white balance before taking the shot. A little trick to get the balance right – just point your camera at a white source and check the level of whiteness, prior to taking the shot.
And for the times where your footage still looks a little out-of-sorts, you can always adjust the white balance and color correction in post-production to create a uniform look for your video.
3. Skip the umms and the aahs
When you look over your footage, you’d find a lot of pauses, hems and haws, false starts, even giggles that you don’t really need in your final video. Using jump cuts will ensure your video is tighter and pacier, and a lot more engaging. This technique is especially useful when you’re shooting face-to-face interviews.
4. Cutaway to something nice once in a while
While jump cuts may be efficient, they may not always look pretty. Besides, having your video focus on a single person’s facial expressions for a long time will probably make the viewing experience a little tedious. To ensure that the viewer’s attention is focused solely on the screen, you can always use a smooth cut-away to visualize what the interviewee is talking about. For example, if your interviewee is discussing a clean-up activity in the neighborhood, you can cut away to a shot of the actual clean-up happening, while he continues to speak about it in the background.

5. Eliminate the noise in the background
Random, jarring sounds in the background are every video creator’s worst nightmares. Bad sound can literally ruin the viewing experience of an otherwise great video. Besides, most cameras are not equipped with microphones that can pick up sound the way you would want them to.
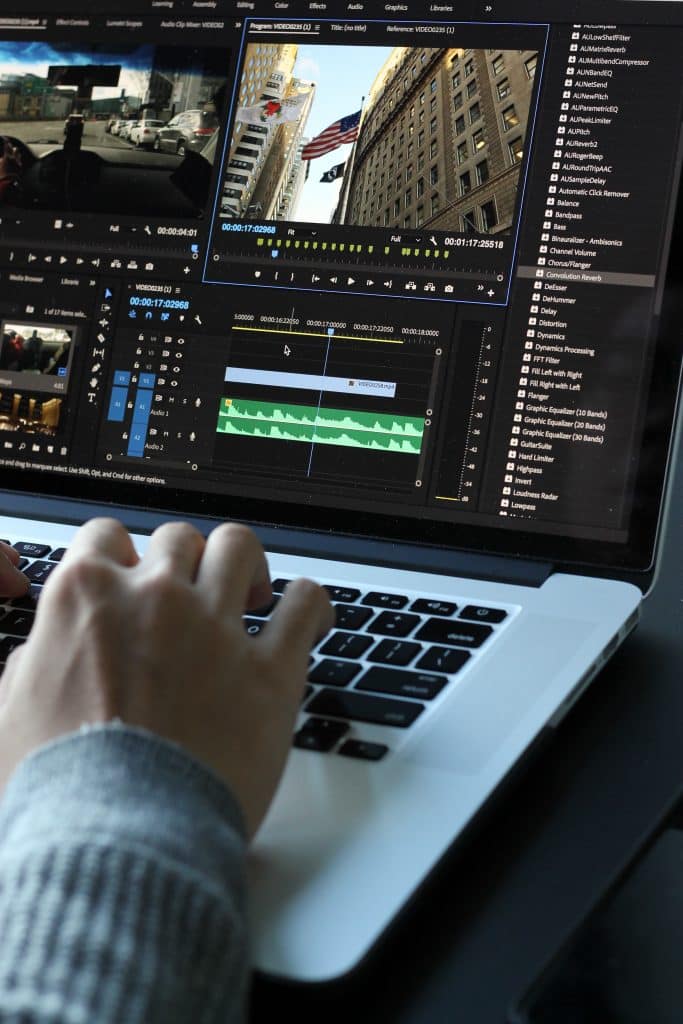
The key to ensuring that never happens is to record sound separately using directional or boom-mics, and later mixing it with the video footage using your editing software.
There are a few things you should definitely keep in mind:
- Ensure you shoot in a space where the background noise is least likely to affect you. While this may not be always possible, it would surely be helpful.
- Check for the acoustics of the set-up, especially when you’re shooting indoors. Room reverb can have unwanted effects on your sound recording.
- Clean up the sound by clearing out the background hiss in post-production.
6. Slow down on the transitions
Unless you’re making the next Michael Bay movie or Daft Punk music video, showing restraint is the best approach when it comes to transitions and effects. More often than not, instead of elevating your video, they tend to make it more garish and amateurish. Ensure the transition effects that you use fit with the tone and the narrative of the video that you’re aiming to create.
7. Play the right track
Picture this – you create a nice, emotional video for your brand, aimed at tugging people’s heartstrings. Now imagine an extremely loud, Metallica meets Scandinavian Black Metal track, playing in the background. Doesn’t sound too pleasant, does it?
Which is why in case your video does need background music, you should ensure to choose a soundtrack that actually goes with the visuals, and accentuates the video’s watchability.
Bonus point – You can’t always fix it in post-production
This is perhaps the most important point to keep in mind while creating any video asset. You have to get the right footage to ensure you can enhance it in post-production – you cannot create the entire video on the editing table. Because then, even efficient video production companies like Shootsta in Sydney, who deliver premium post-production video edits within 24 hours, won’t be able to help out in creating the masterpiece you envisioned your video to be (we’re pretty confident that they will still salvage it!).
Apart from this, following these 7 tips will help you cover all your basics, and hopefully, ensure you make the video you’ve always dreamt of making.
Happy shooting!


Leave a Reply